Wooden Toy Car
I made this wooden car for my eldest son’s 6th birthday. My 8 year old daughter worked on it with me and we gave it to him together as a gift from both of us.
I love making things with my kids and giving them a chance to get involved in the process. My daughter and I decided together what to make and chose the style of car body we wanted to emulate. We discussed the elements of design and how we would go about making it happen, and she helped physically with some hand sanding.
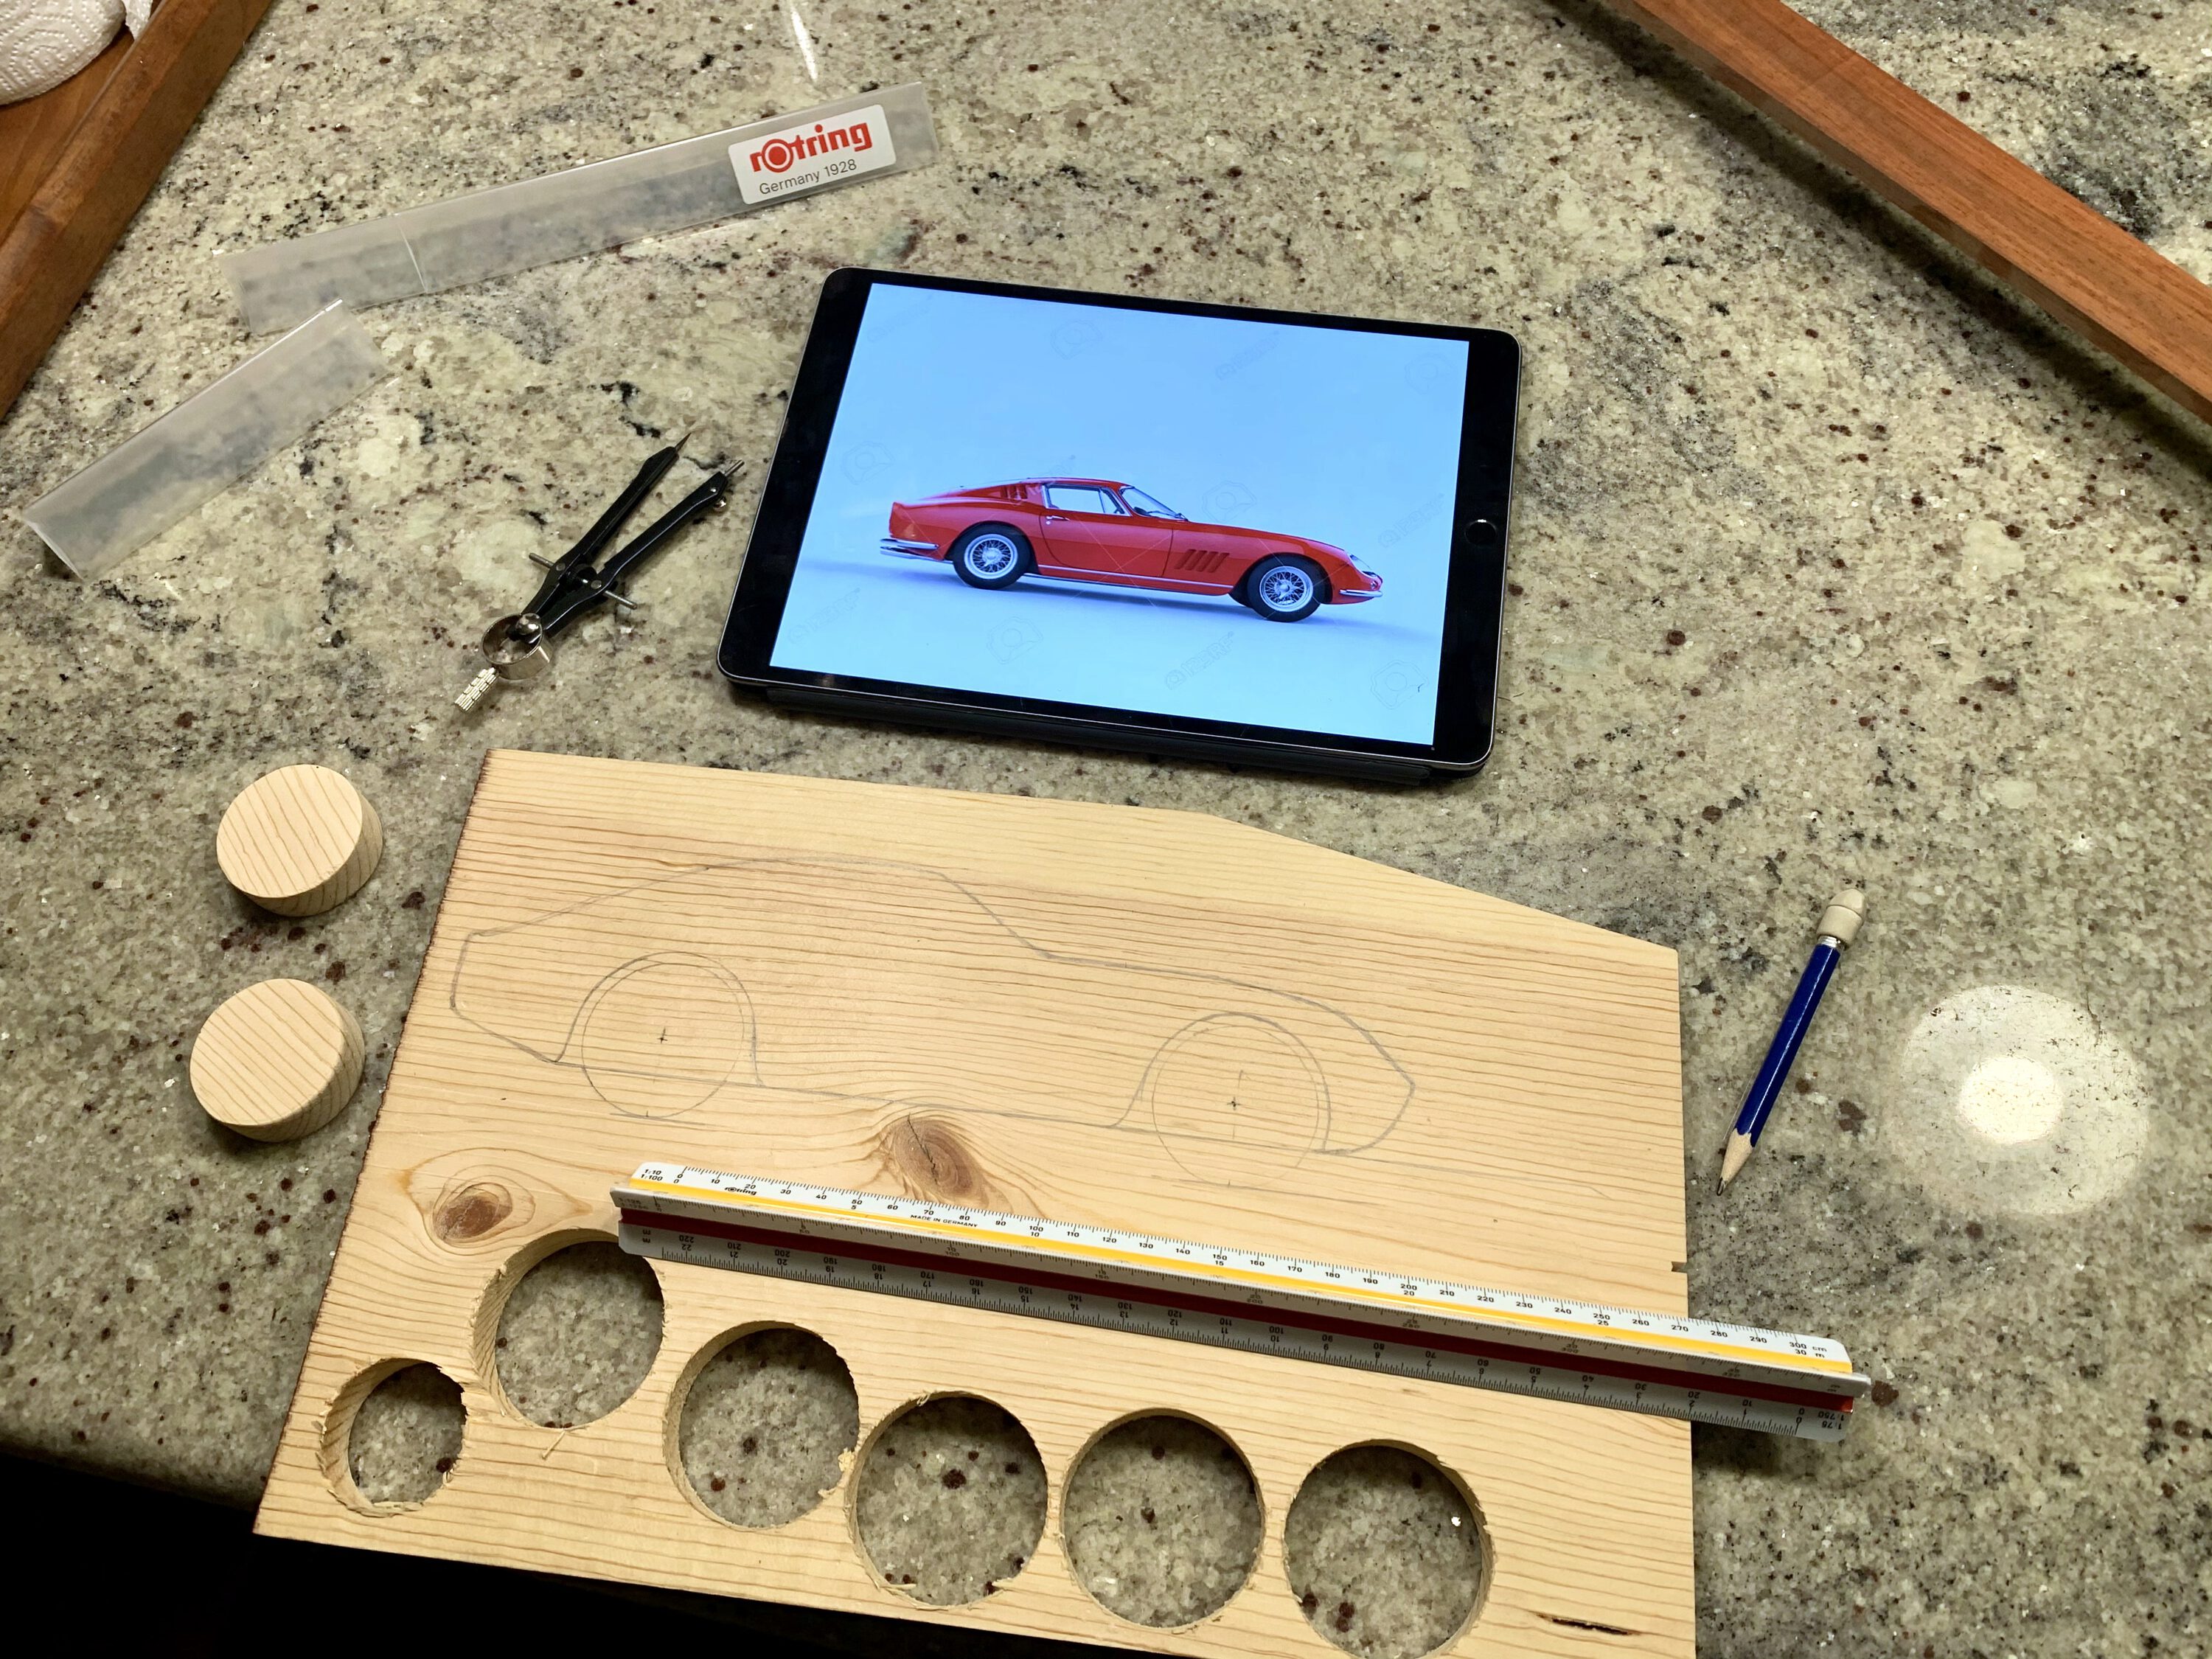
I started out by cutting some wheels out of some pine with a hole saw. I eyeballed the size of wheel I thought would look nice, and basically formed the scale of the car based on the wheels.
Then I found a profile of a “vintage car”, which ended up being some generic stock photo that does not actually say what kind of car it is, but I think it seems to most closely resemble the Toyota 2000GT.
I used my architect’s ruler to roughly scale my drawing based on the digital one, but I wasn’t too concerned with accuracy. The image was more about inspiration, and we took some liberties and shaped it as we saw fit.
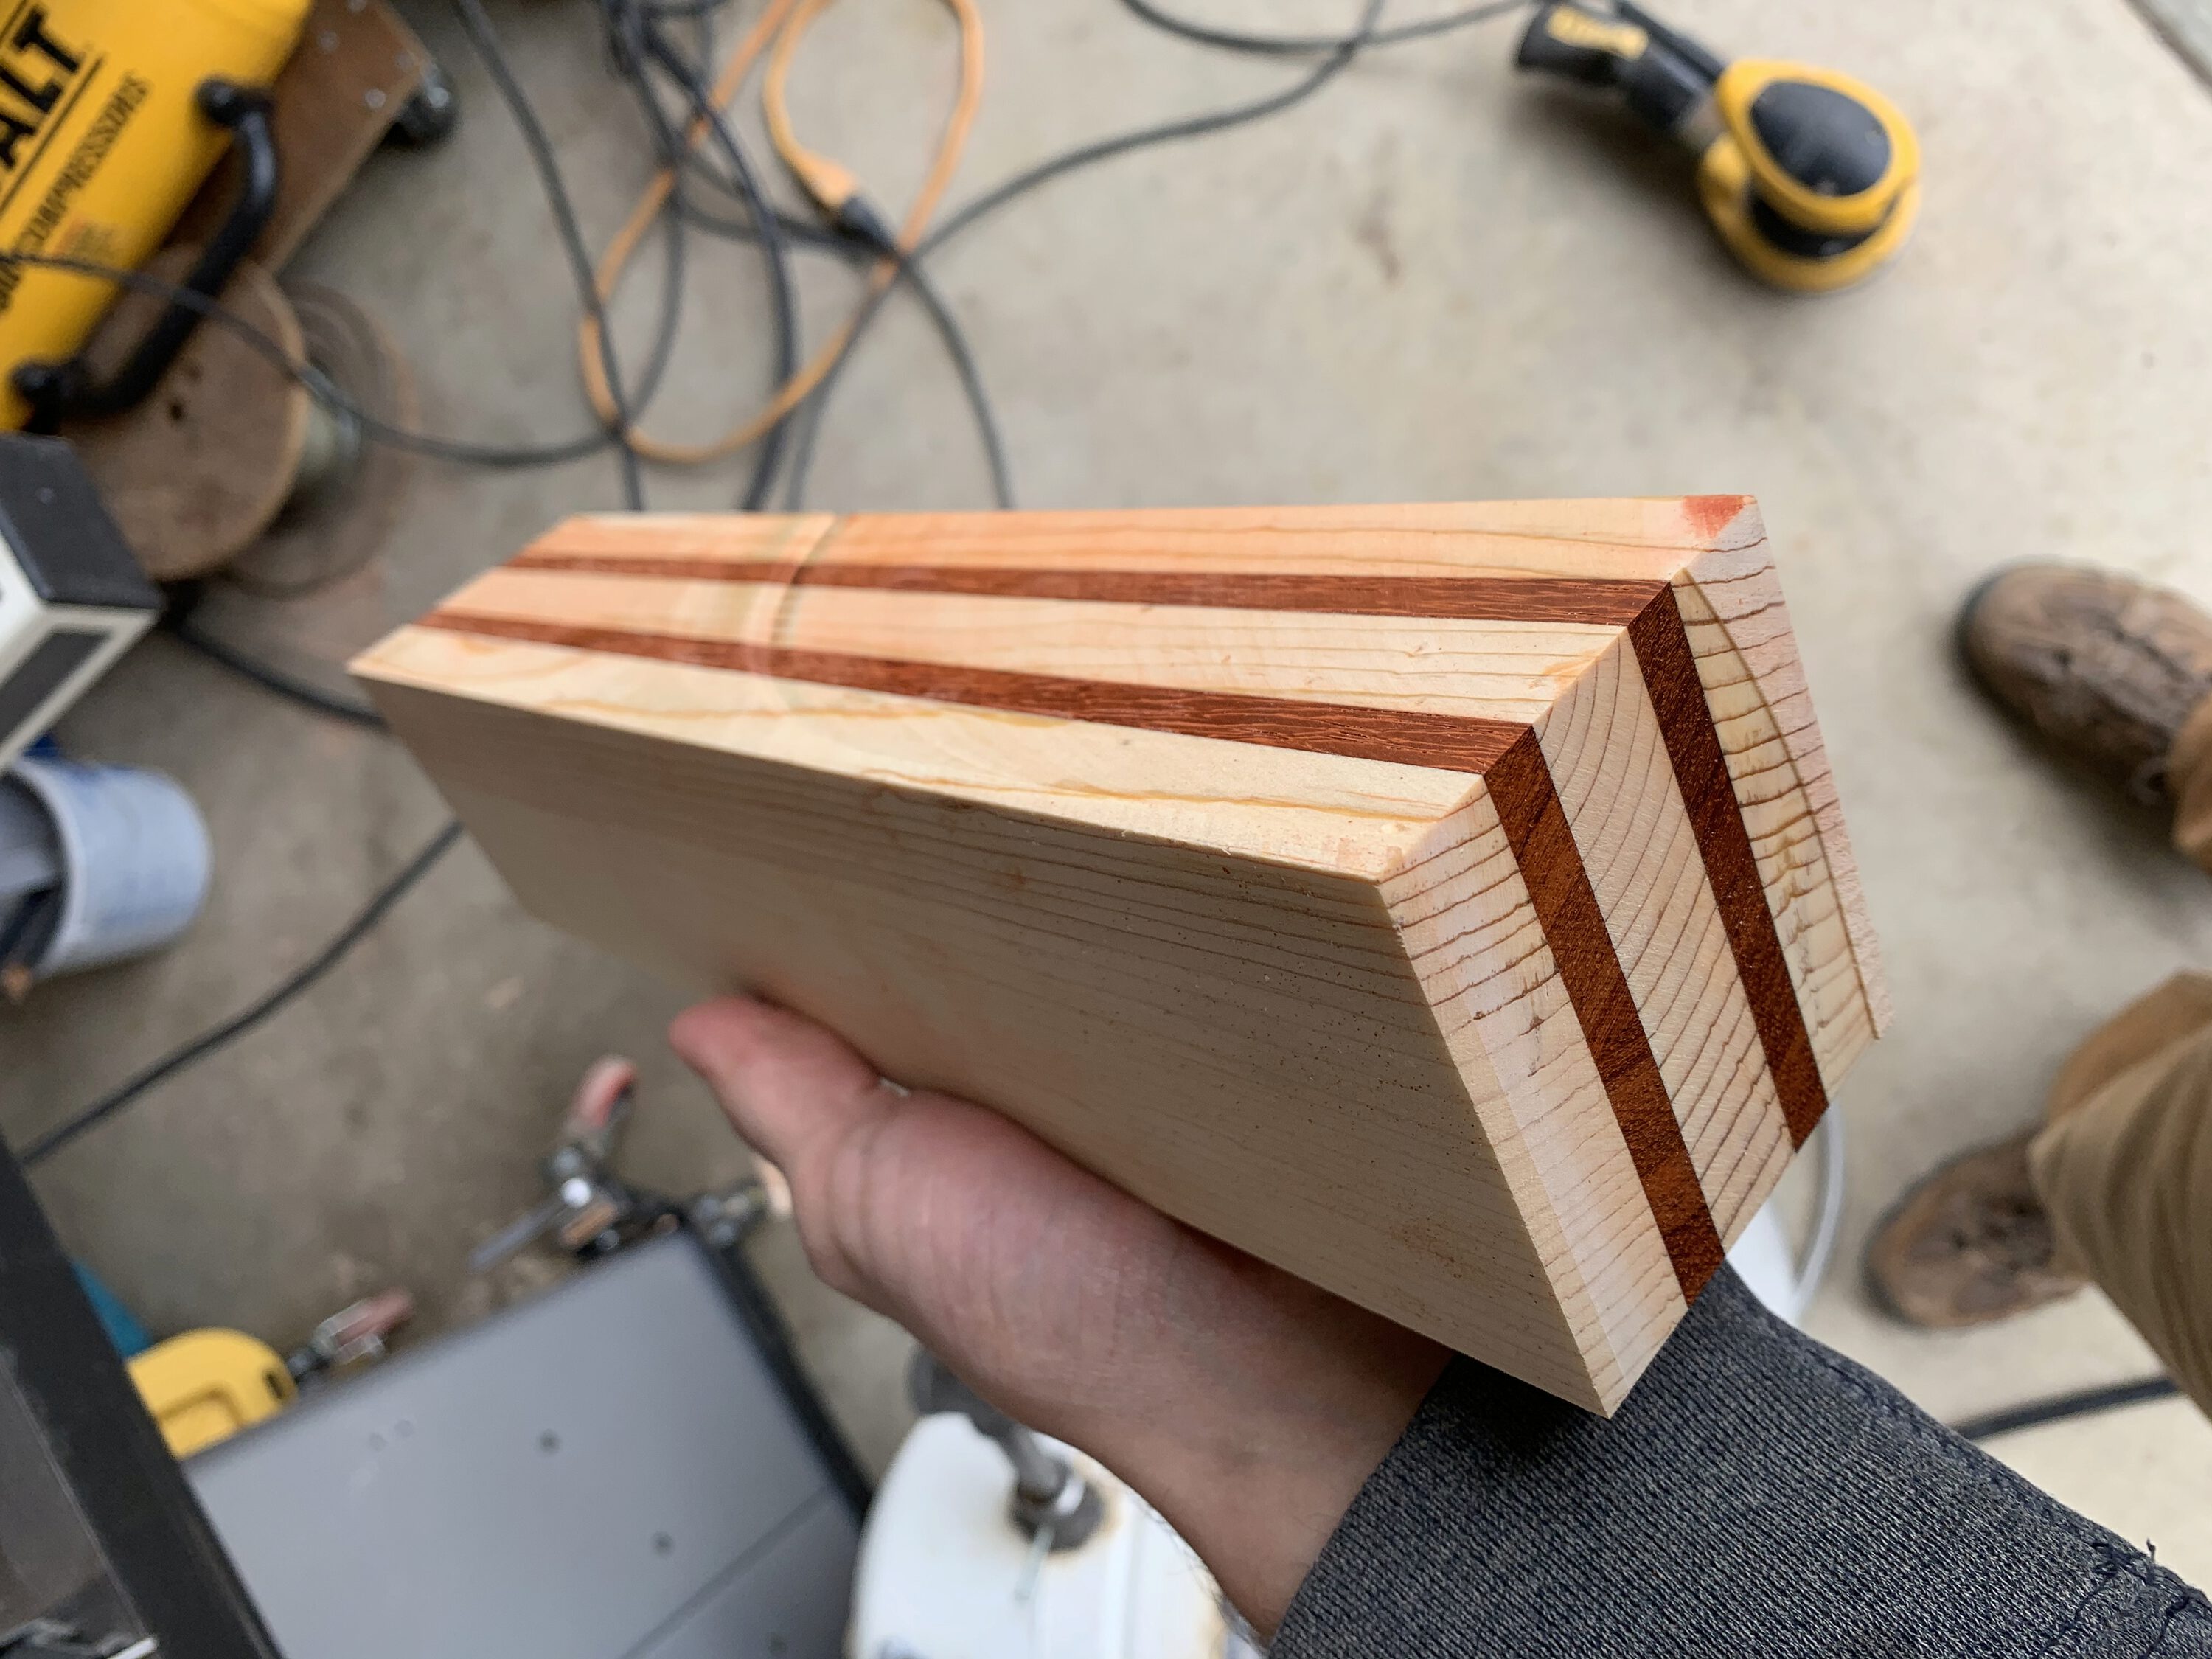
I had initially thought about making a few matching pieces and then gluing them together, thinking that it would be easier to sand and shape them before they were too thick. So after cutting out my first piece on the bandsaw and sanding it to the shape that I wanted, I cut and template routed a second piece to match. But then, we had the idea to use some padauk strips I had to add some color and interest between the layers. I decided to glue this up as a solid block, so I ended up not needing the second piece.

Tracing out the shape from my template 
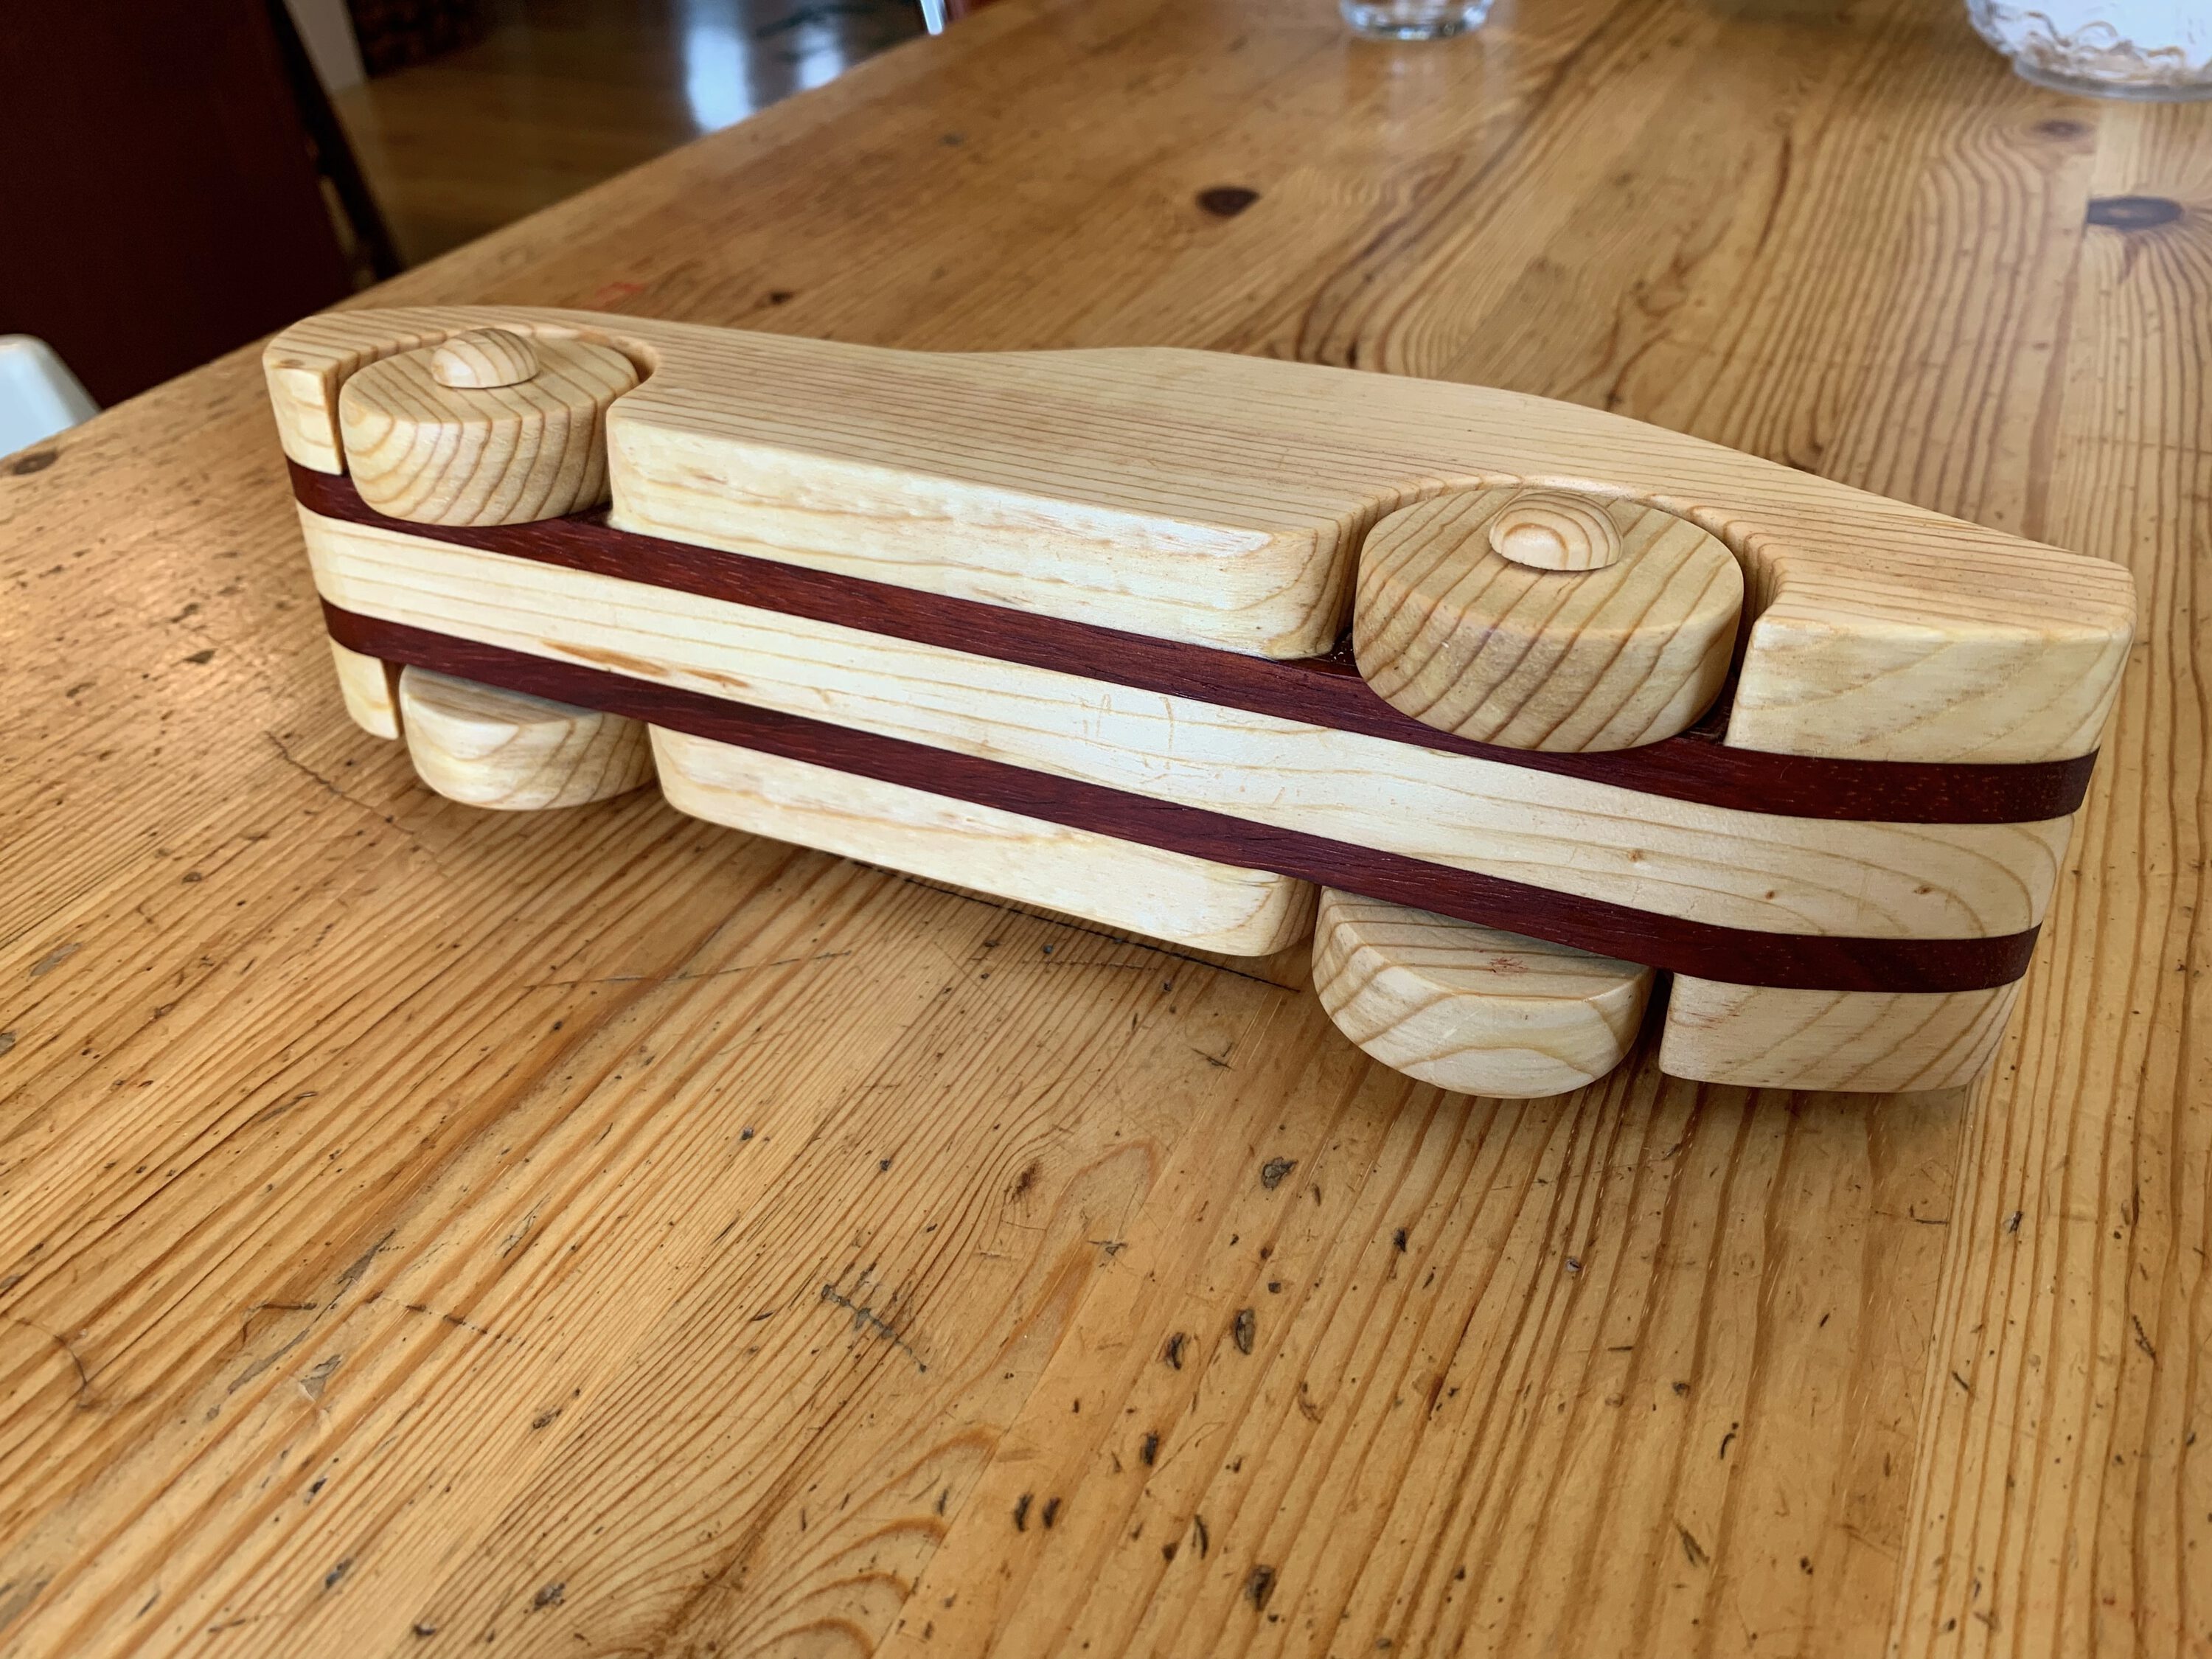
Padauk was used for the accent wood.
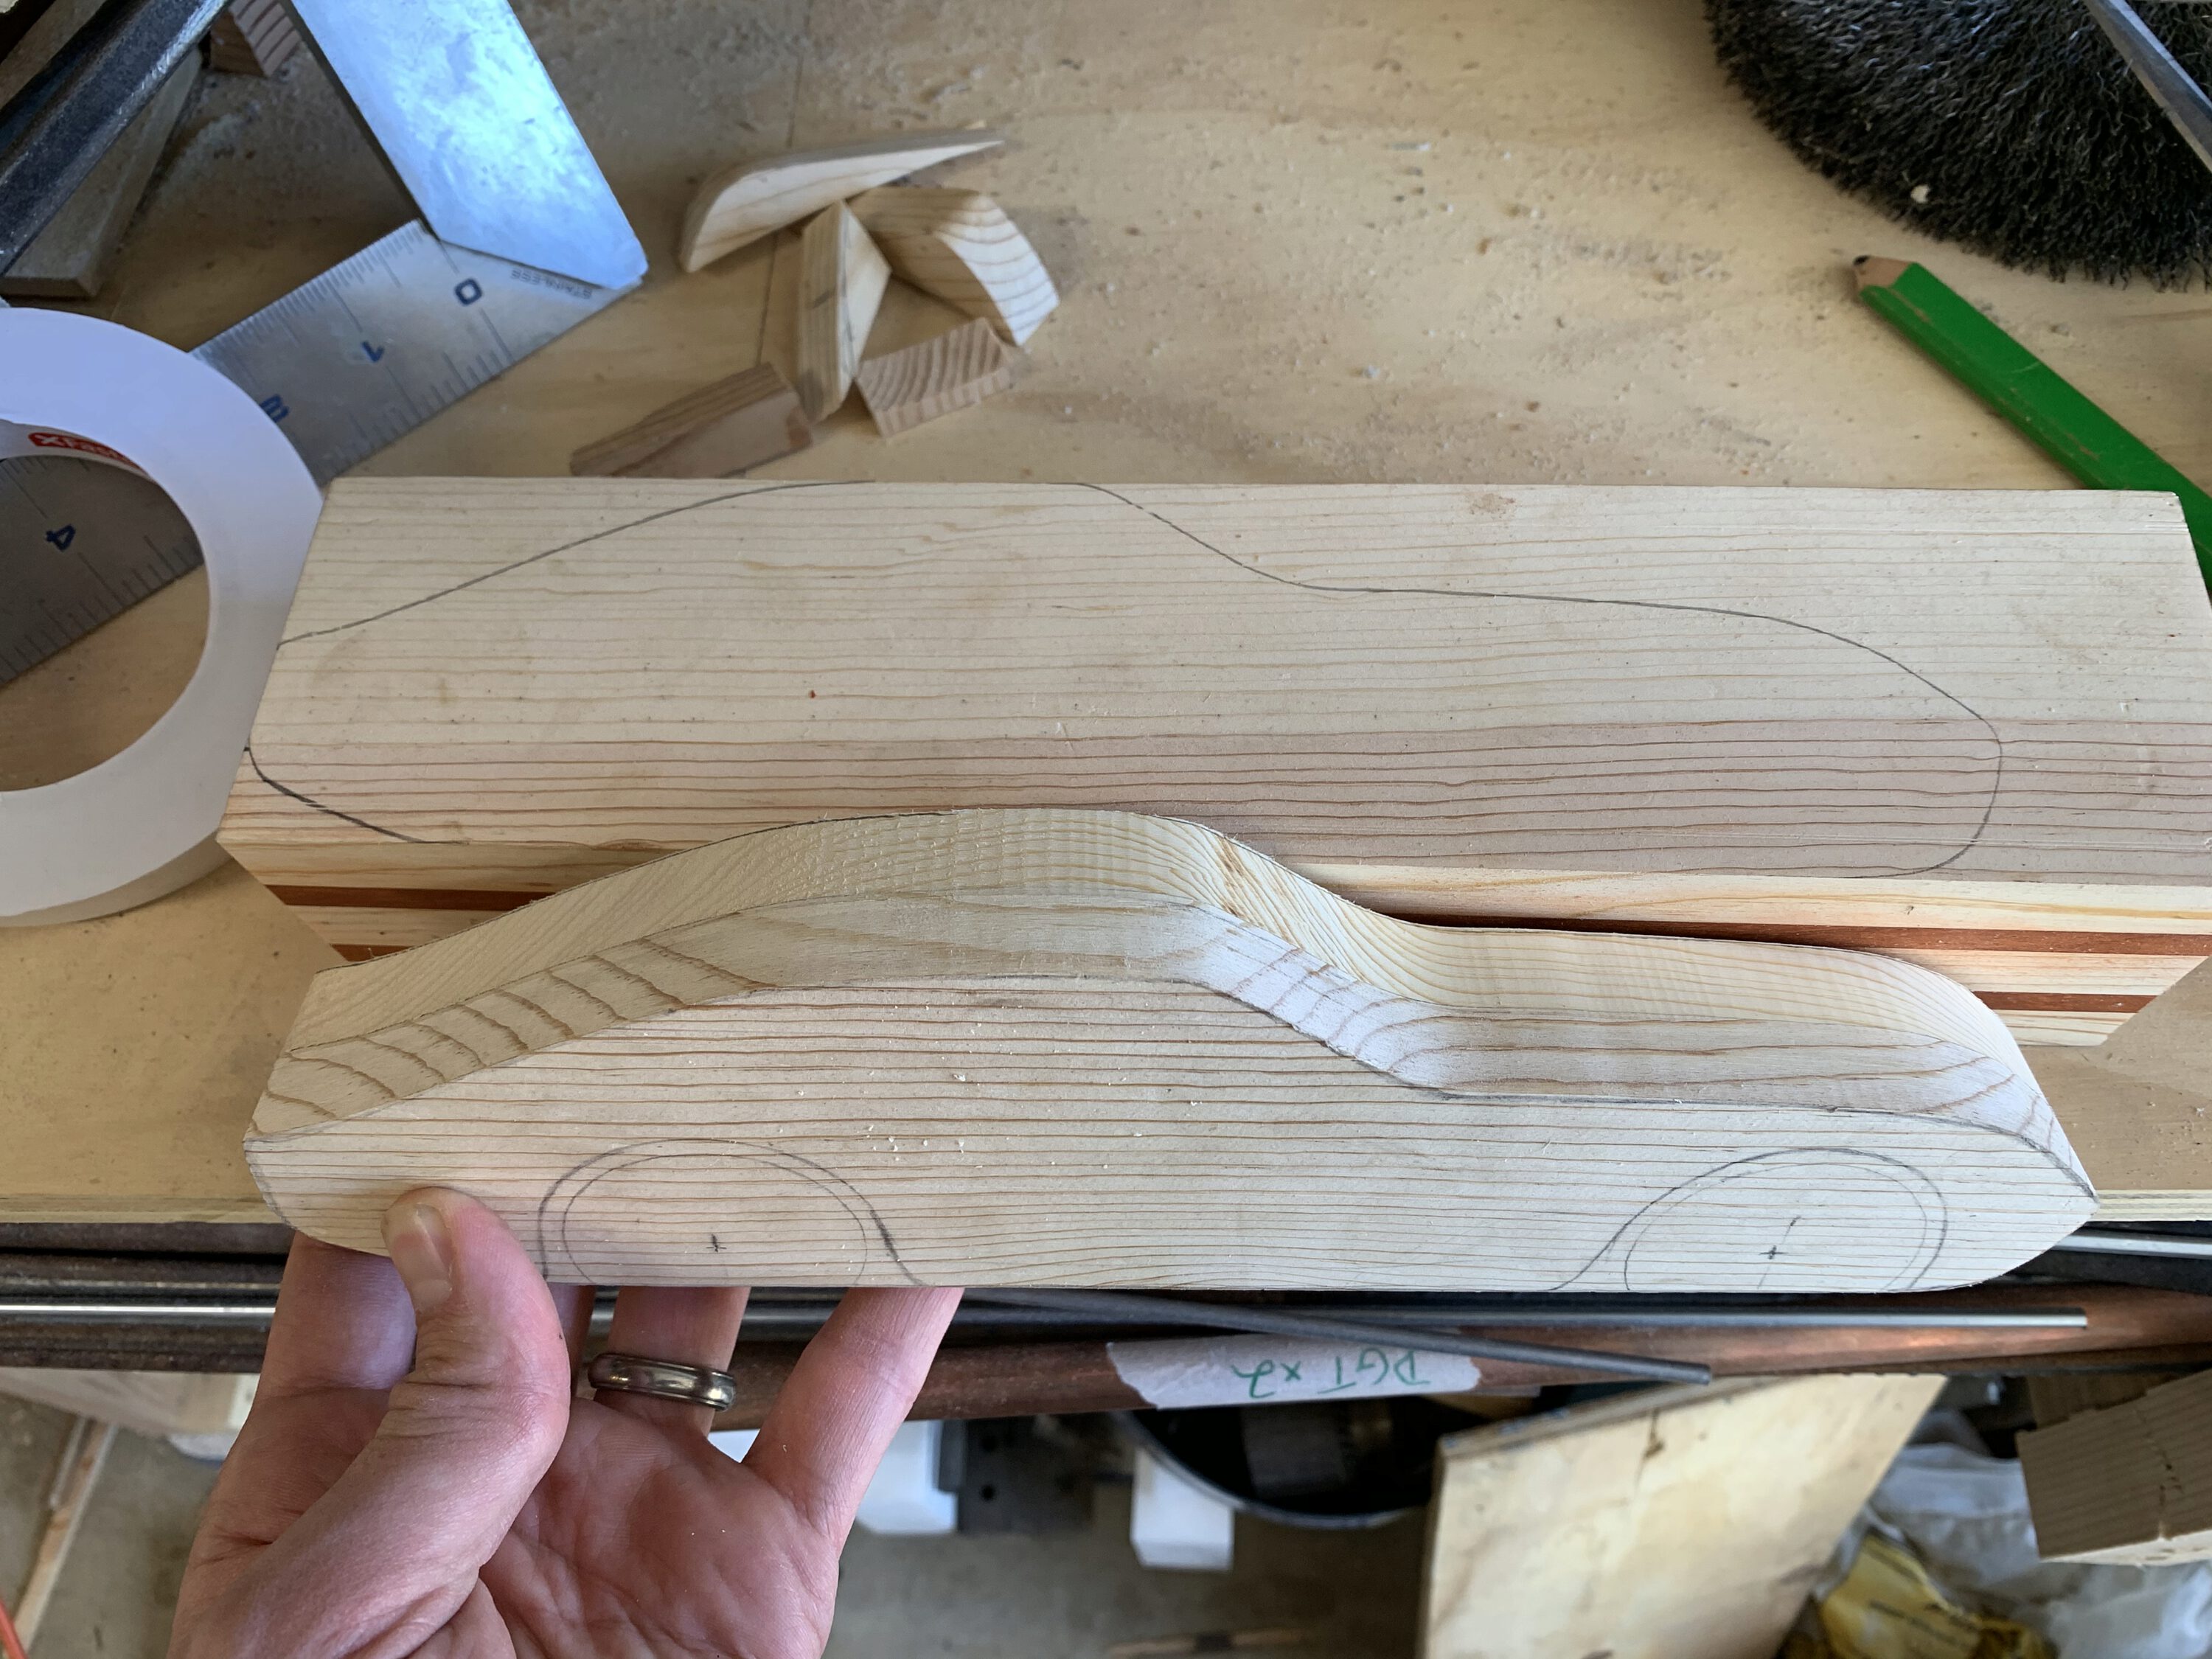
After gluing up the block of wood, I traced out the shape, cut it out on the band saw, and sanded everything smooth. I used my drill press with a 1.75” forstner bit to drill out the wheel wells, and then followed up with a 3/8” bit to create the hole for the axles to fit inside. Then I smoothed and shaped the transition between the wheel wells and the body with files and sand paper.
Clamping oak dowels onto some pine disks to make axles. 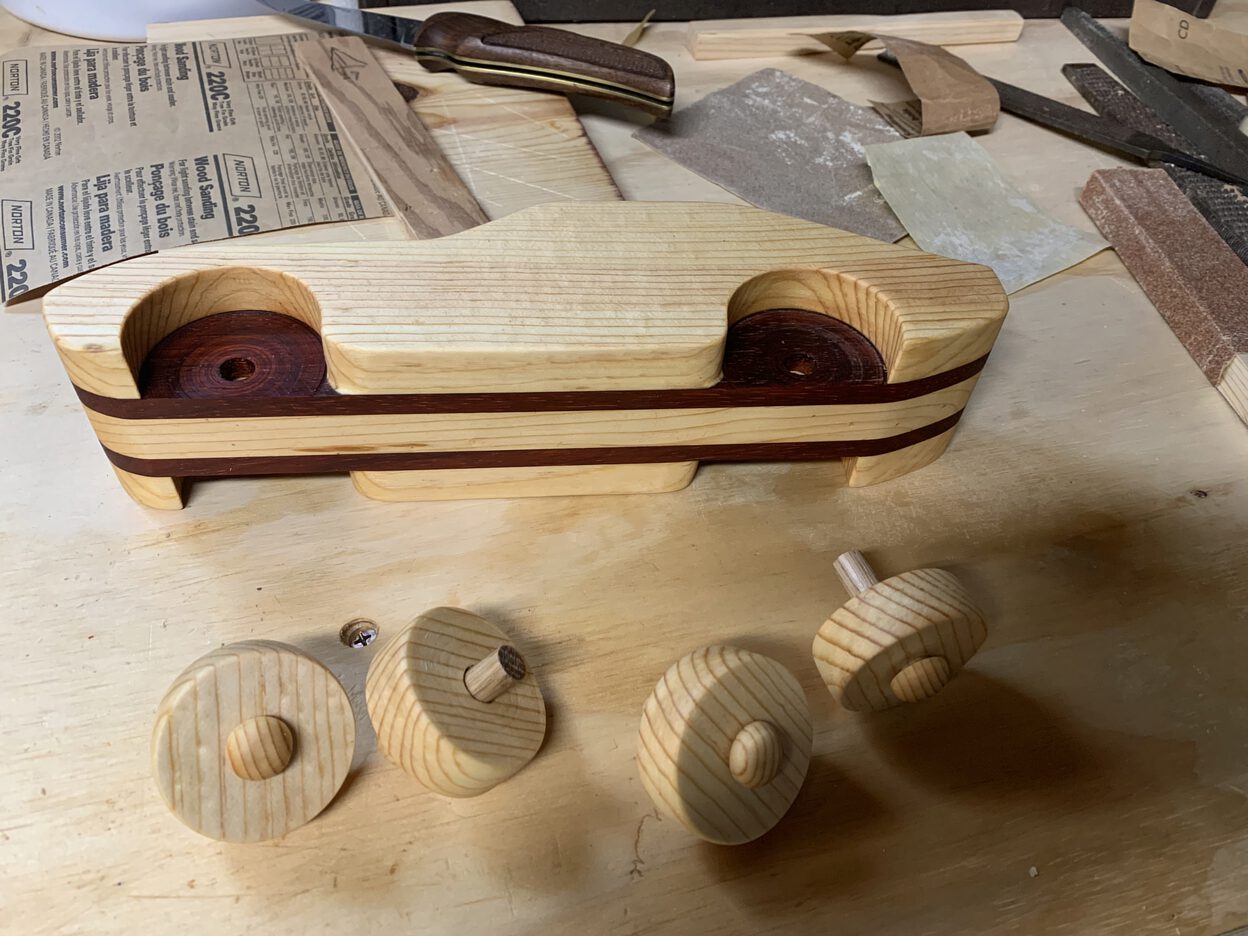
Axle caps shaped and ready to assemble.


I used some 3/8” oak dowel for the axles, and glued on some pine blanks I cut out with a smaller hole saw to cap them off. It was easiest to round off and shape these blanks after gluing them to the axles. This is definitely the weak point of the entire thing, and I knew it would be when I did it. Still, I didn’t feel like I had a good alternative with the time and resources I had available.
Before gluing the axles in, I put a wax and oil finish on the contact points between the axles and the wheels, trying to make sure they would spin freely enough after assembly. Then I glued them in to the body. I also put the finish on the rest of the wood.
The axle caps have come off a number of times, so I’ve had it back in the shop to fix up the axles on multiple occasions in the last two years since I built it. My son has also played with it pretty aggressively, so that’s pretty much to be expected.
The car measures about 2.5” wide, and 11” long.
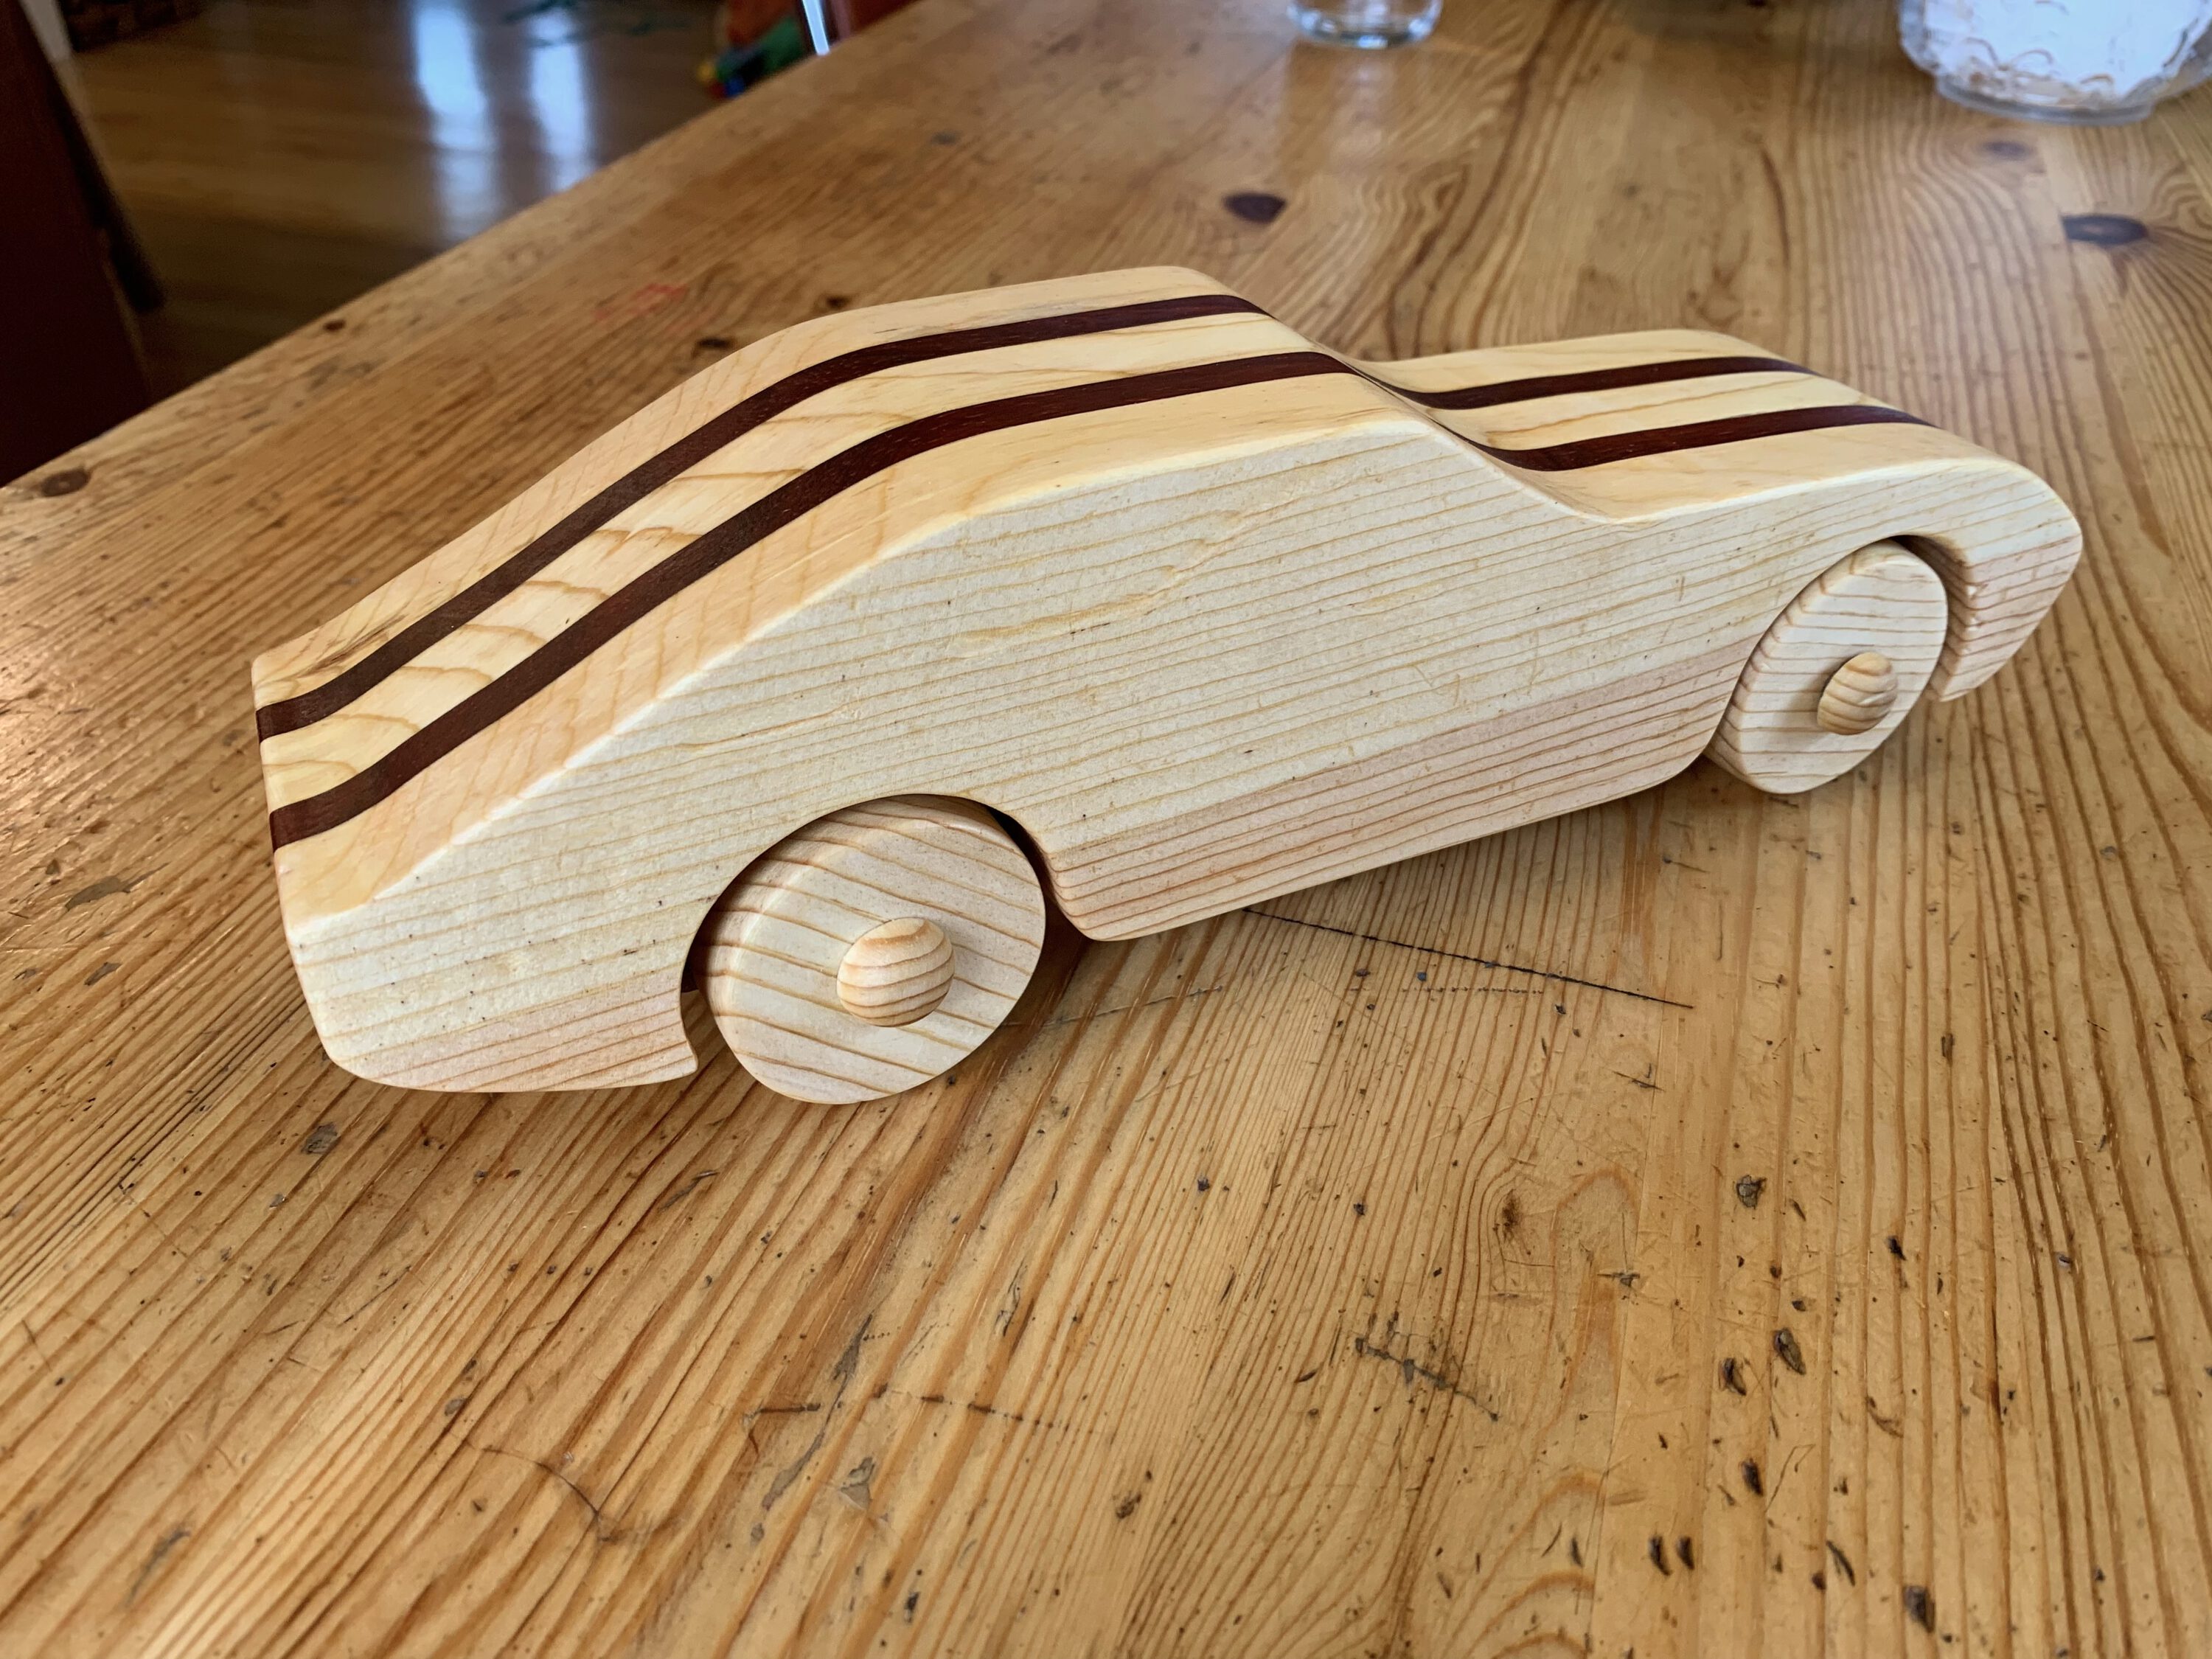
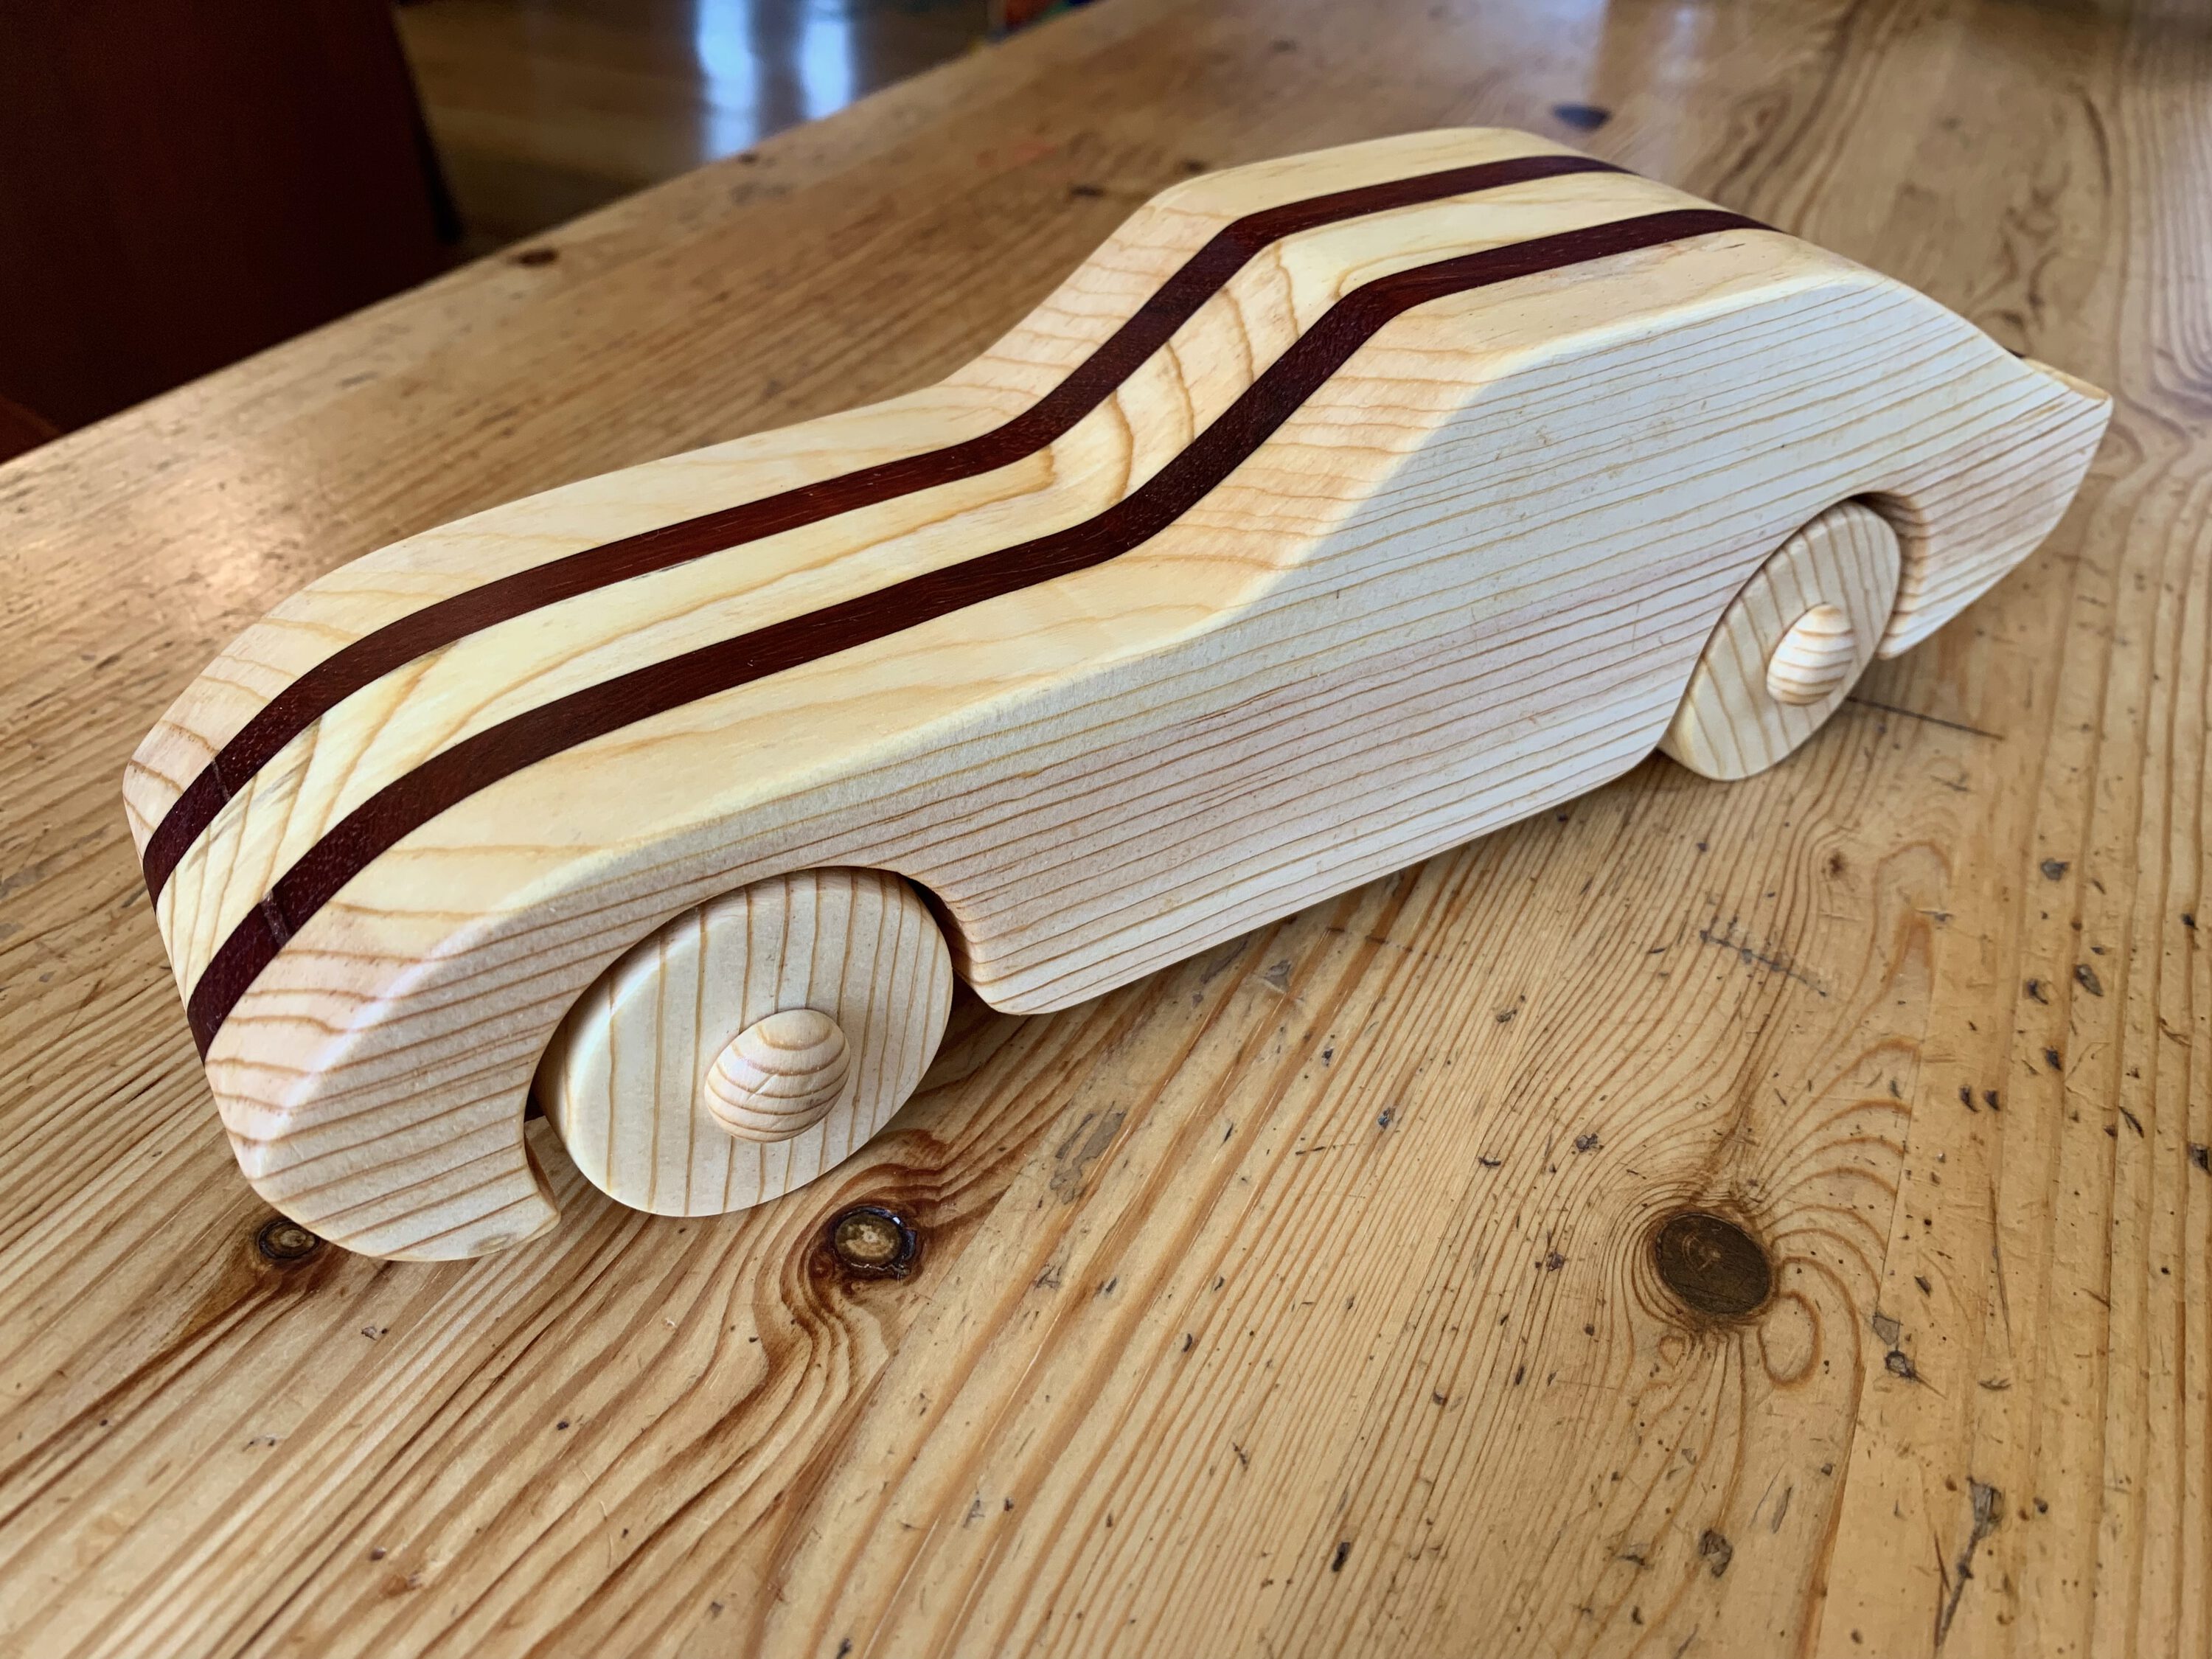
A fun little project! I’m pretty happy with how it turned out — though it’s not perfect. I like the look of the pine with the padauk, which I’m guessing is a fairly rare combination. The car has been well loved and well used. Pine isn’t the sturdiest of woods for a toy that needs to take some abuse, but I don’t mind it getting dinged up, so long as it’s being enjoyed.