Sewing a Pioneer Dress
My eldest daughter has always loved dressing up — all my kids do. She’s always loved the pioneer era and has read the Little House series multiple times1 We even got her a Little House Cookbook. She loves making recipes such as johnnycake, gingerbread, and pound cake, and is always finding new ones to try.
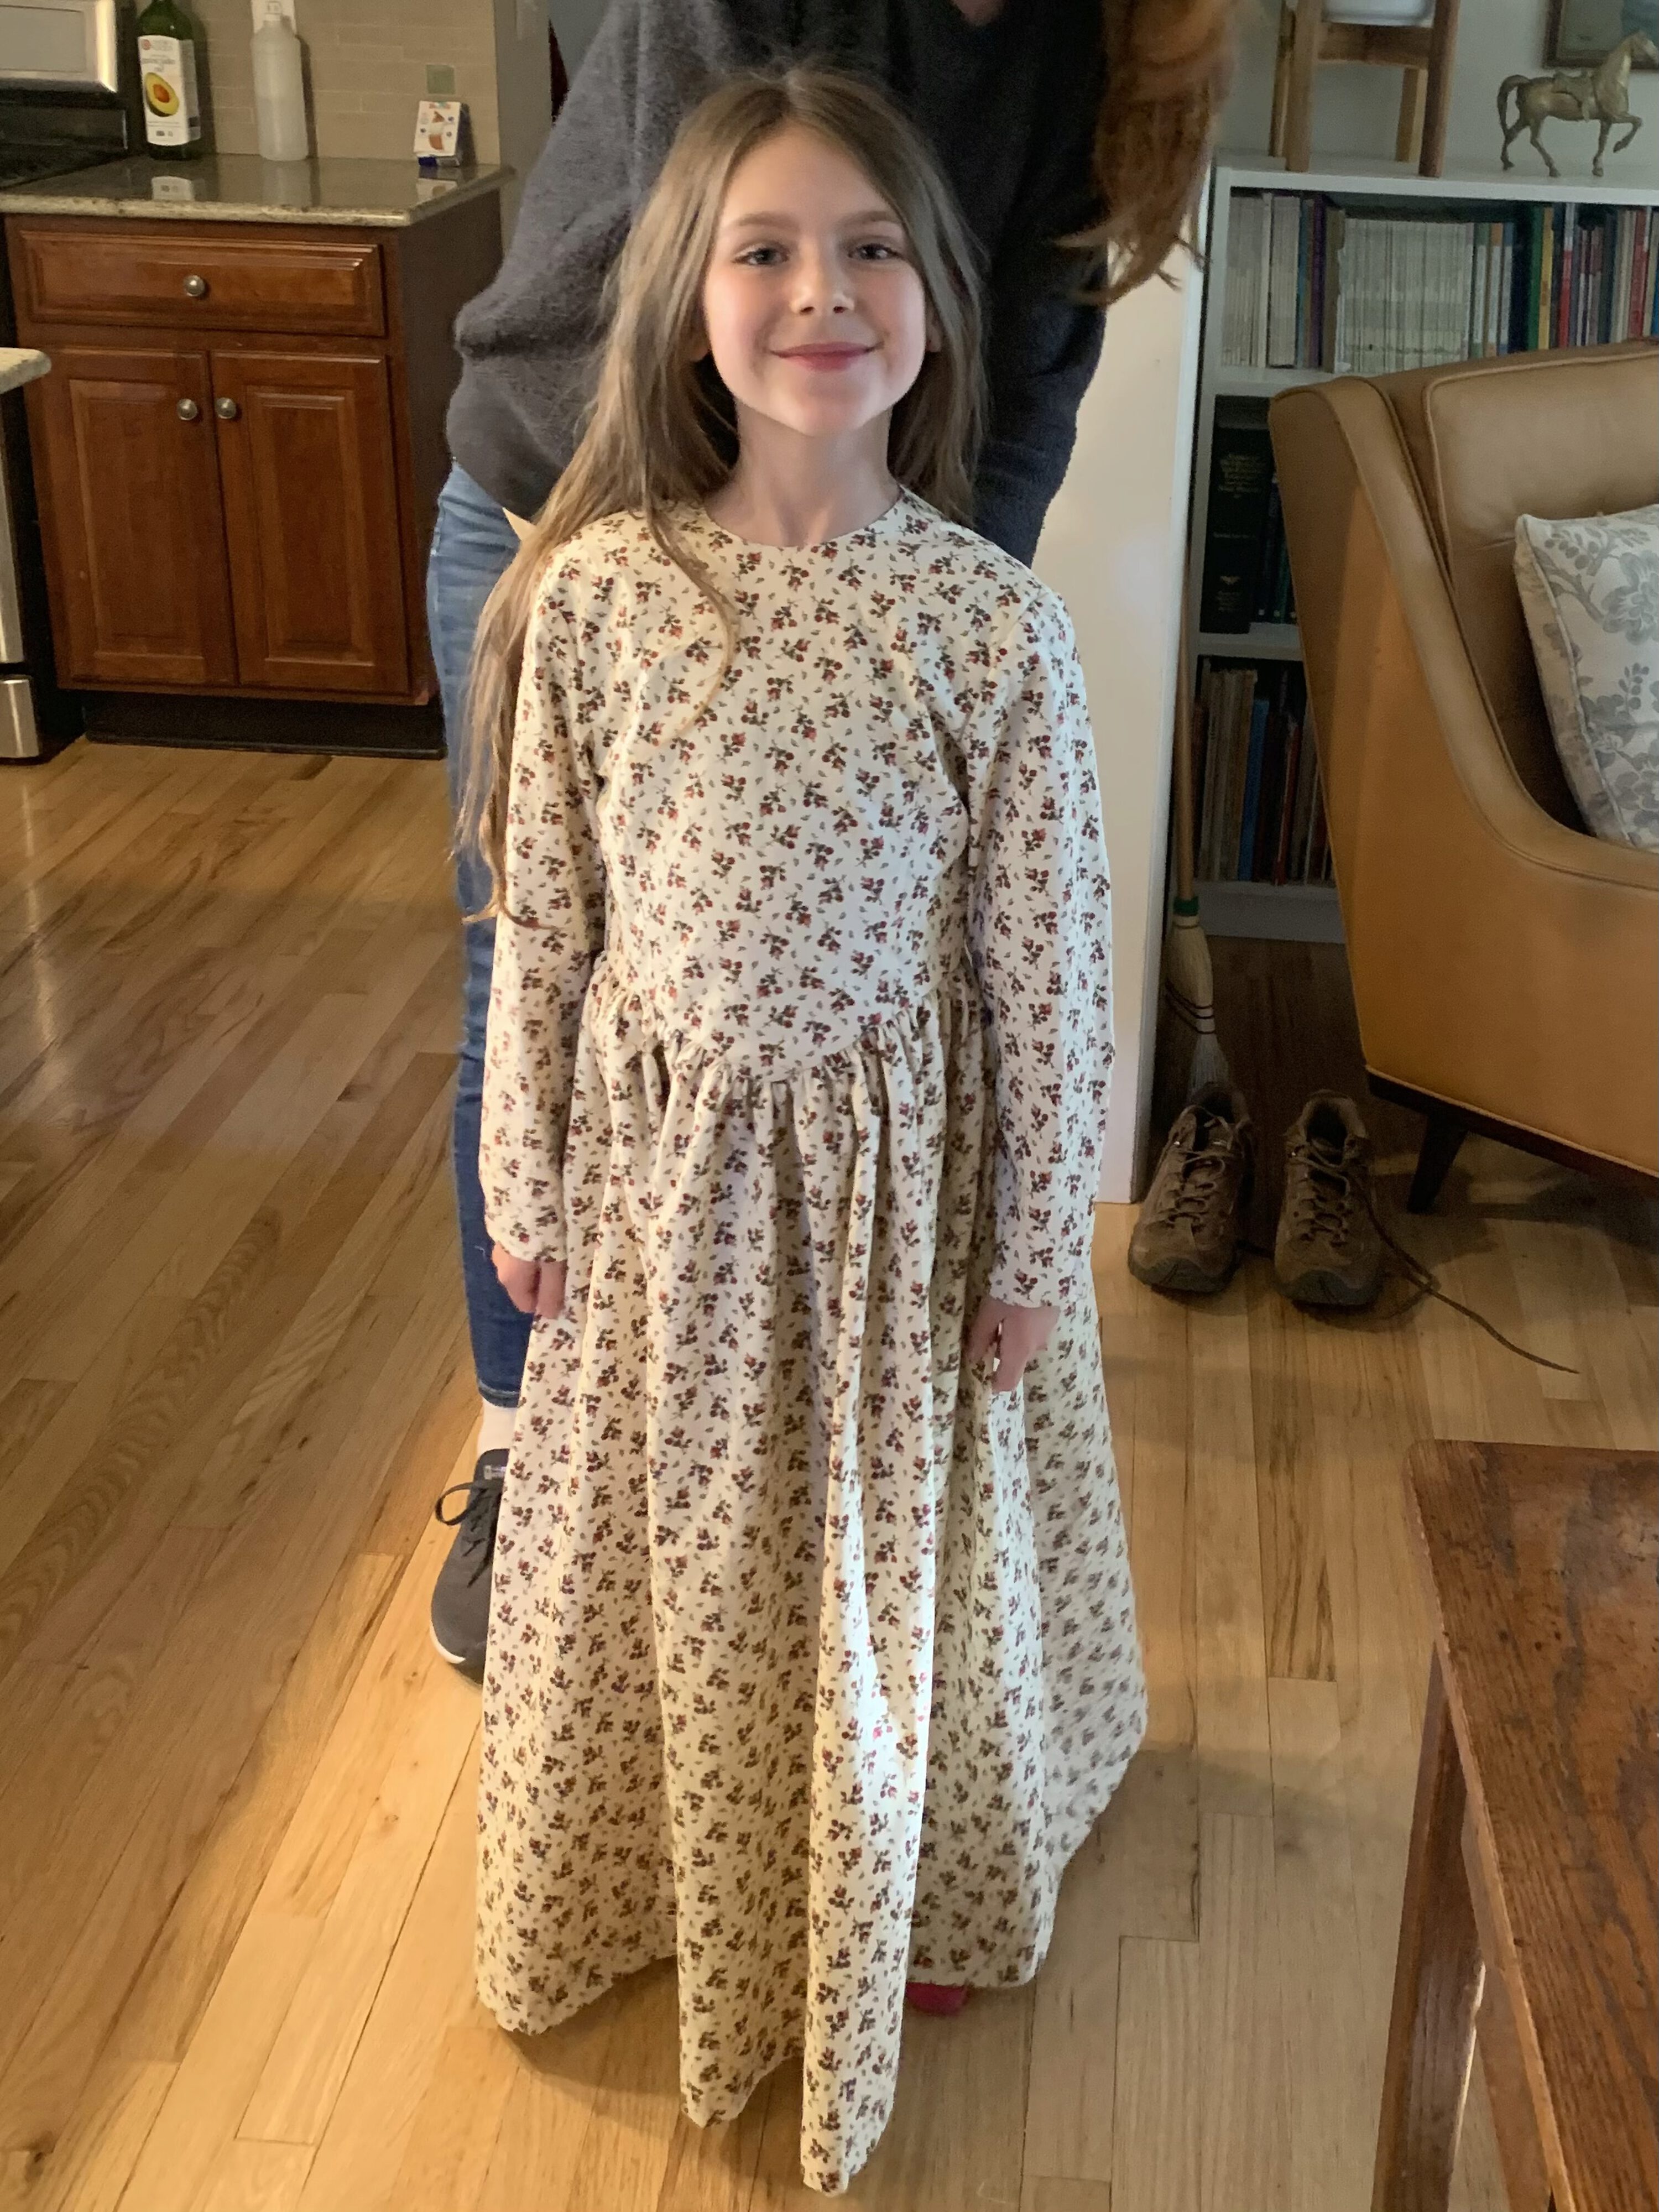
When my daughter was 7, she wanted a “prairie dress”, so we picked out a pattern and some fabric for her.
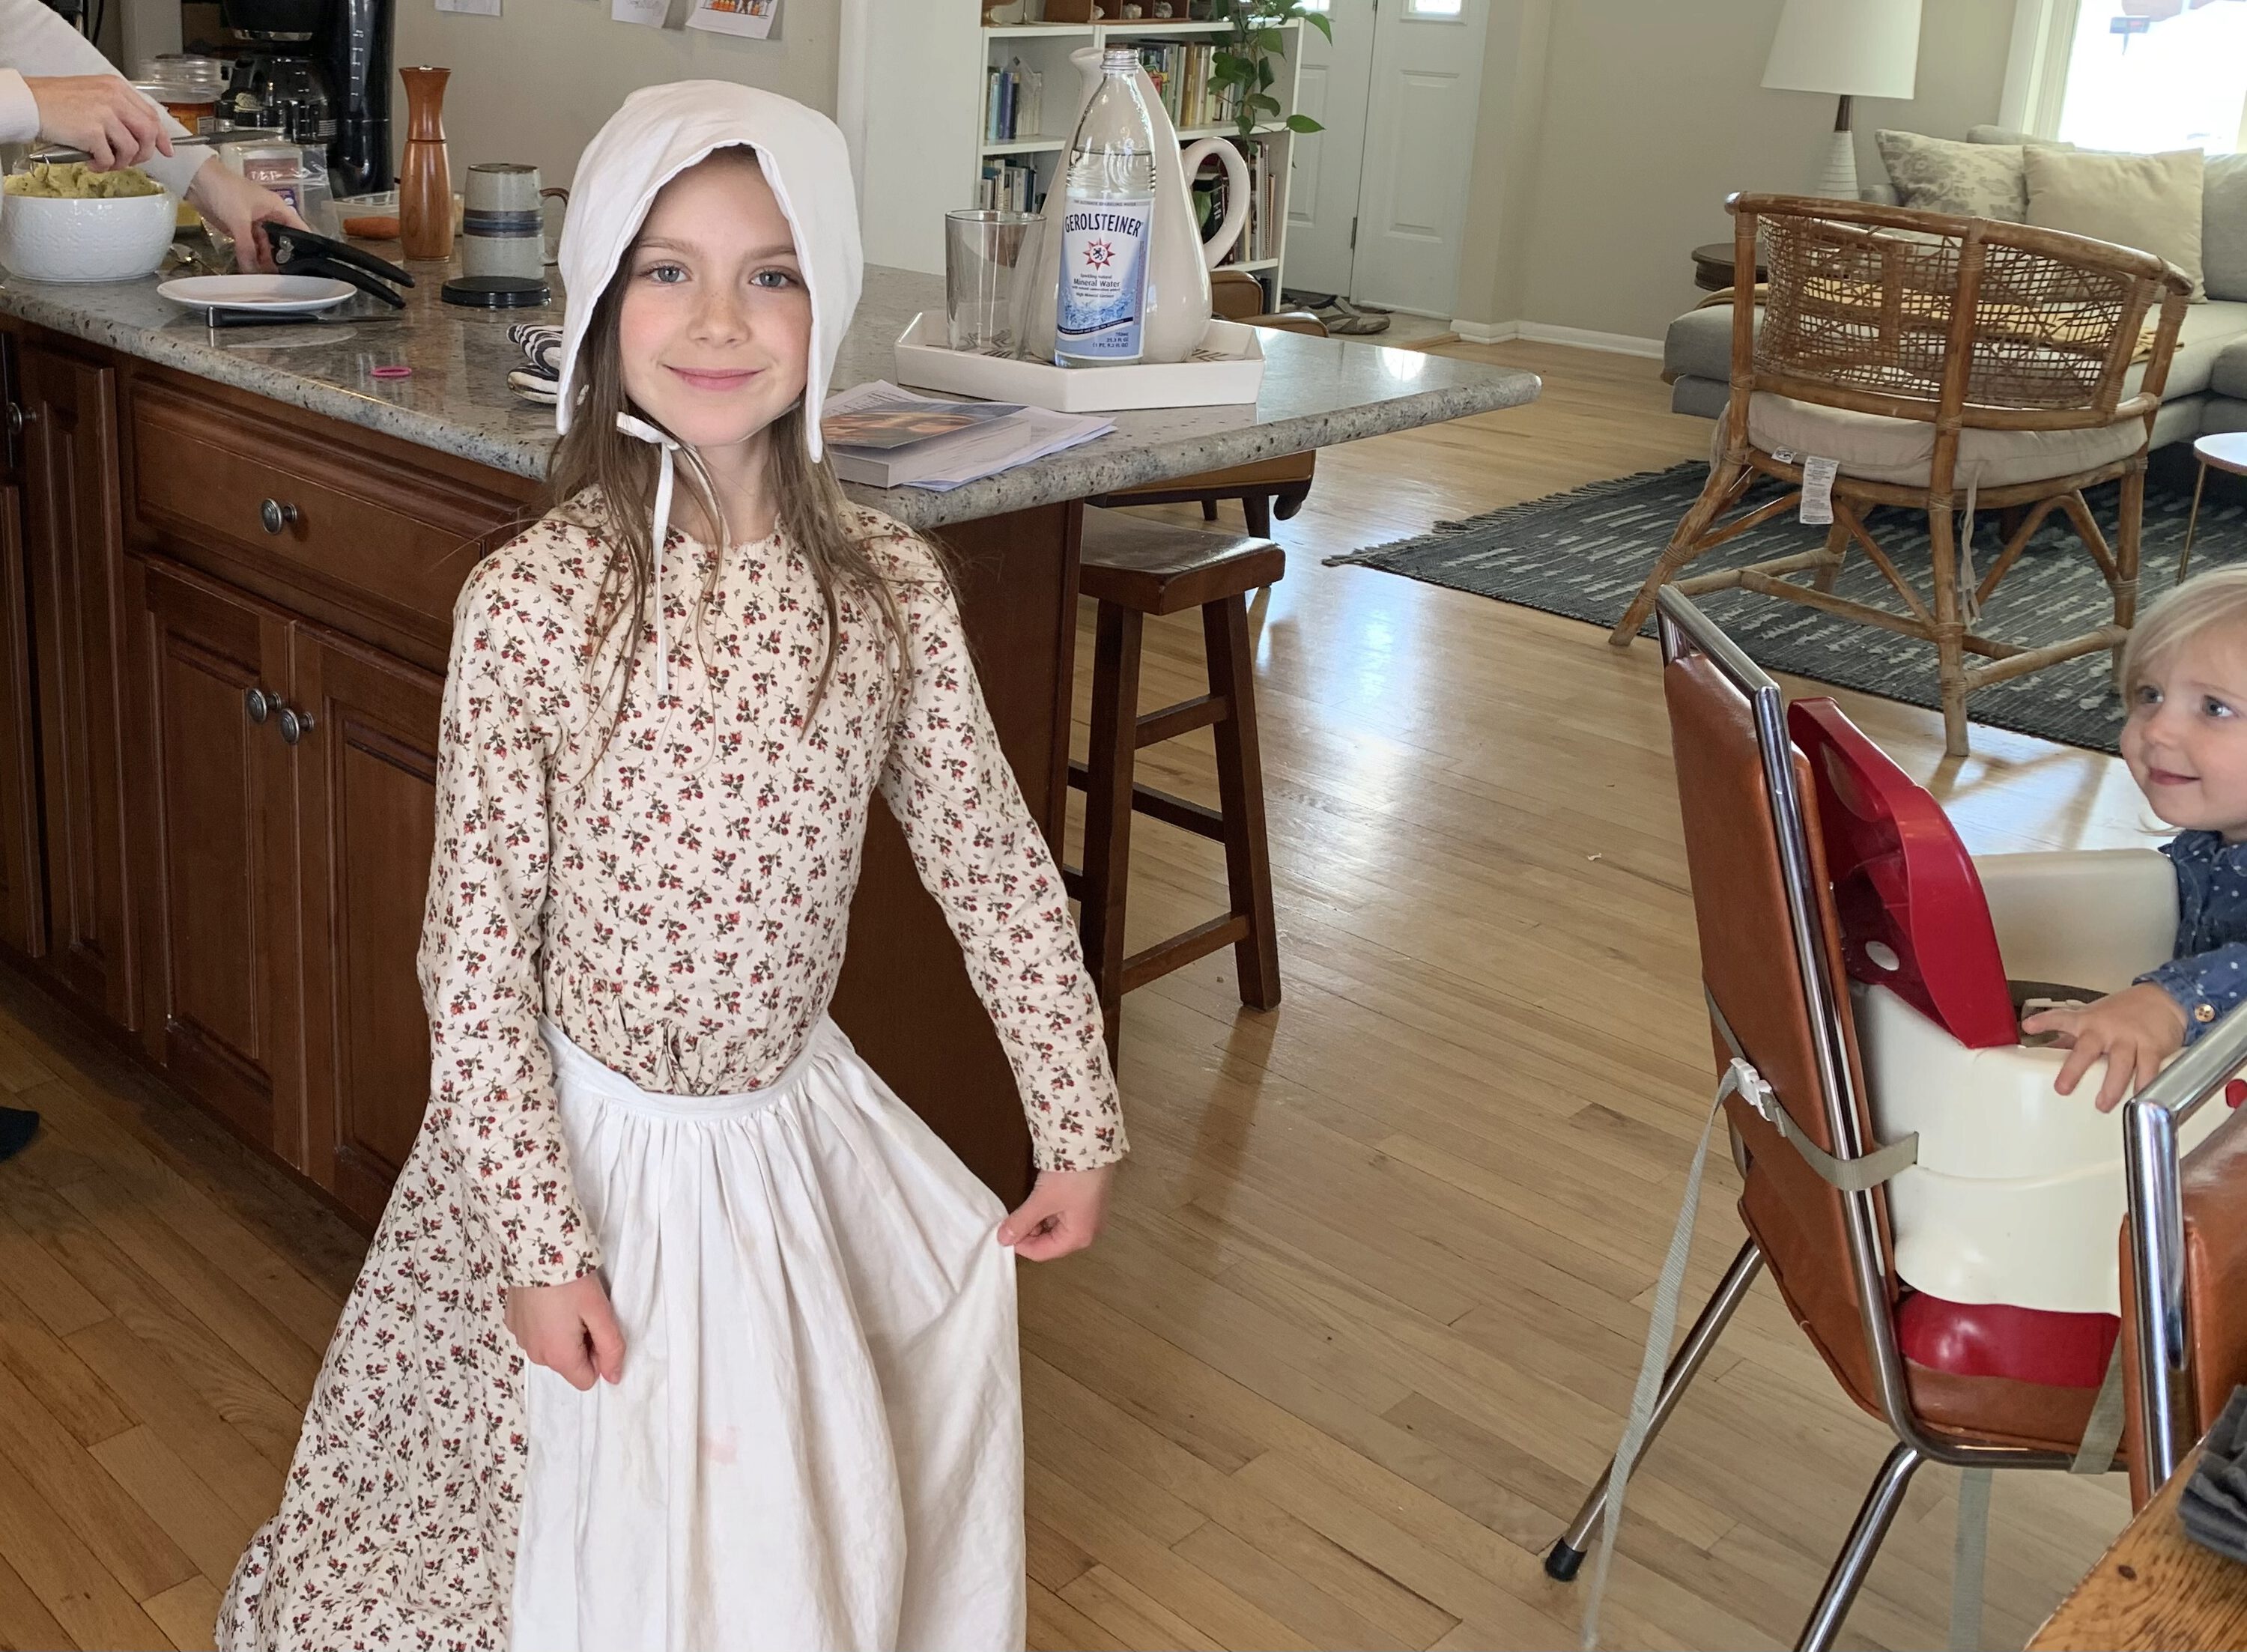
More than dressing up, though, she wears this dress regularly. People frequently comment on the dress, and she often tells them proudly “my dad made it!”
It was a challenging project and some of the most advanced sewing I’ve done, and I have to say that I’m proud of it. I quite enjoy the incredulous looks I sometimes get from people hearing that I made it.
My eldest daughter is outgrowing the dress now, but thankfully her little sister will be big enough for it in a couple years. I’ll be pleased if she gets even half as much enjoyment out of the dress as her older sister did.
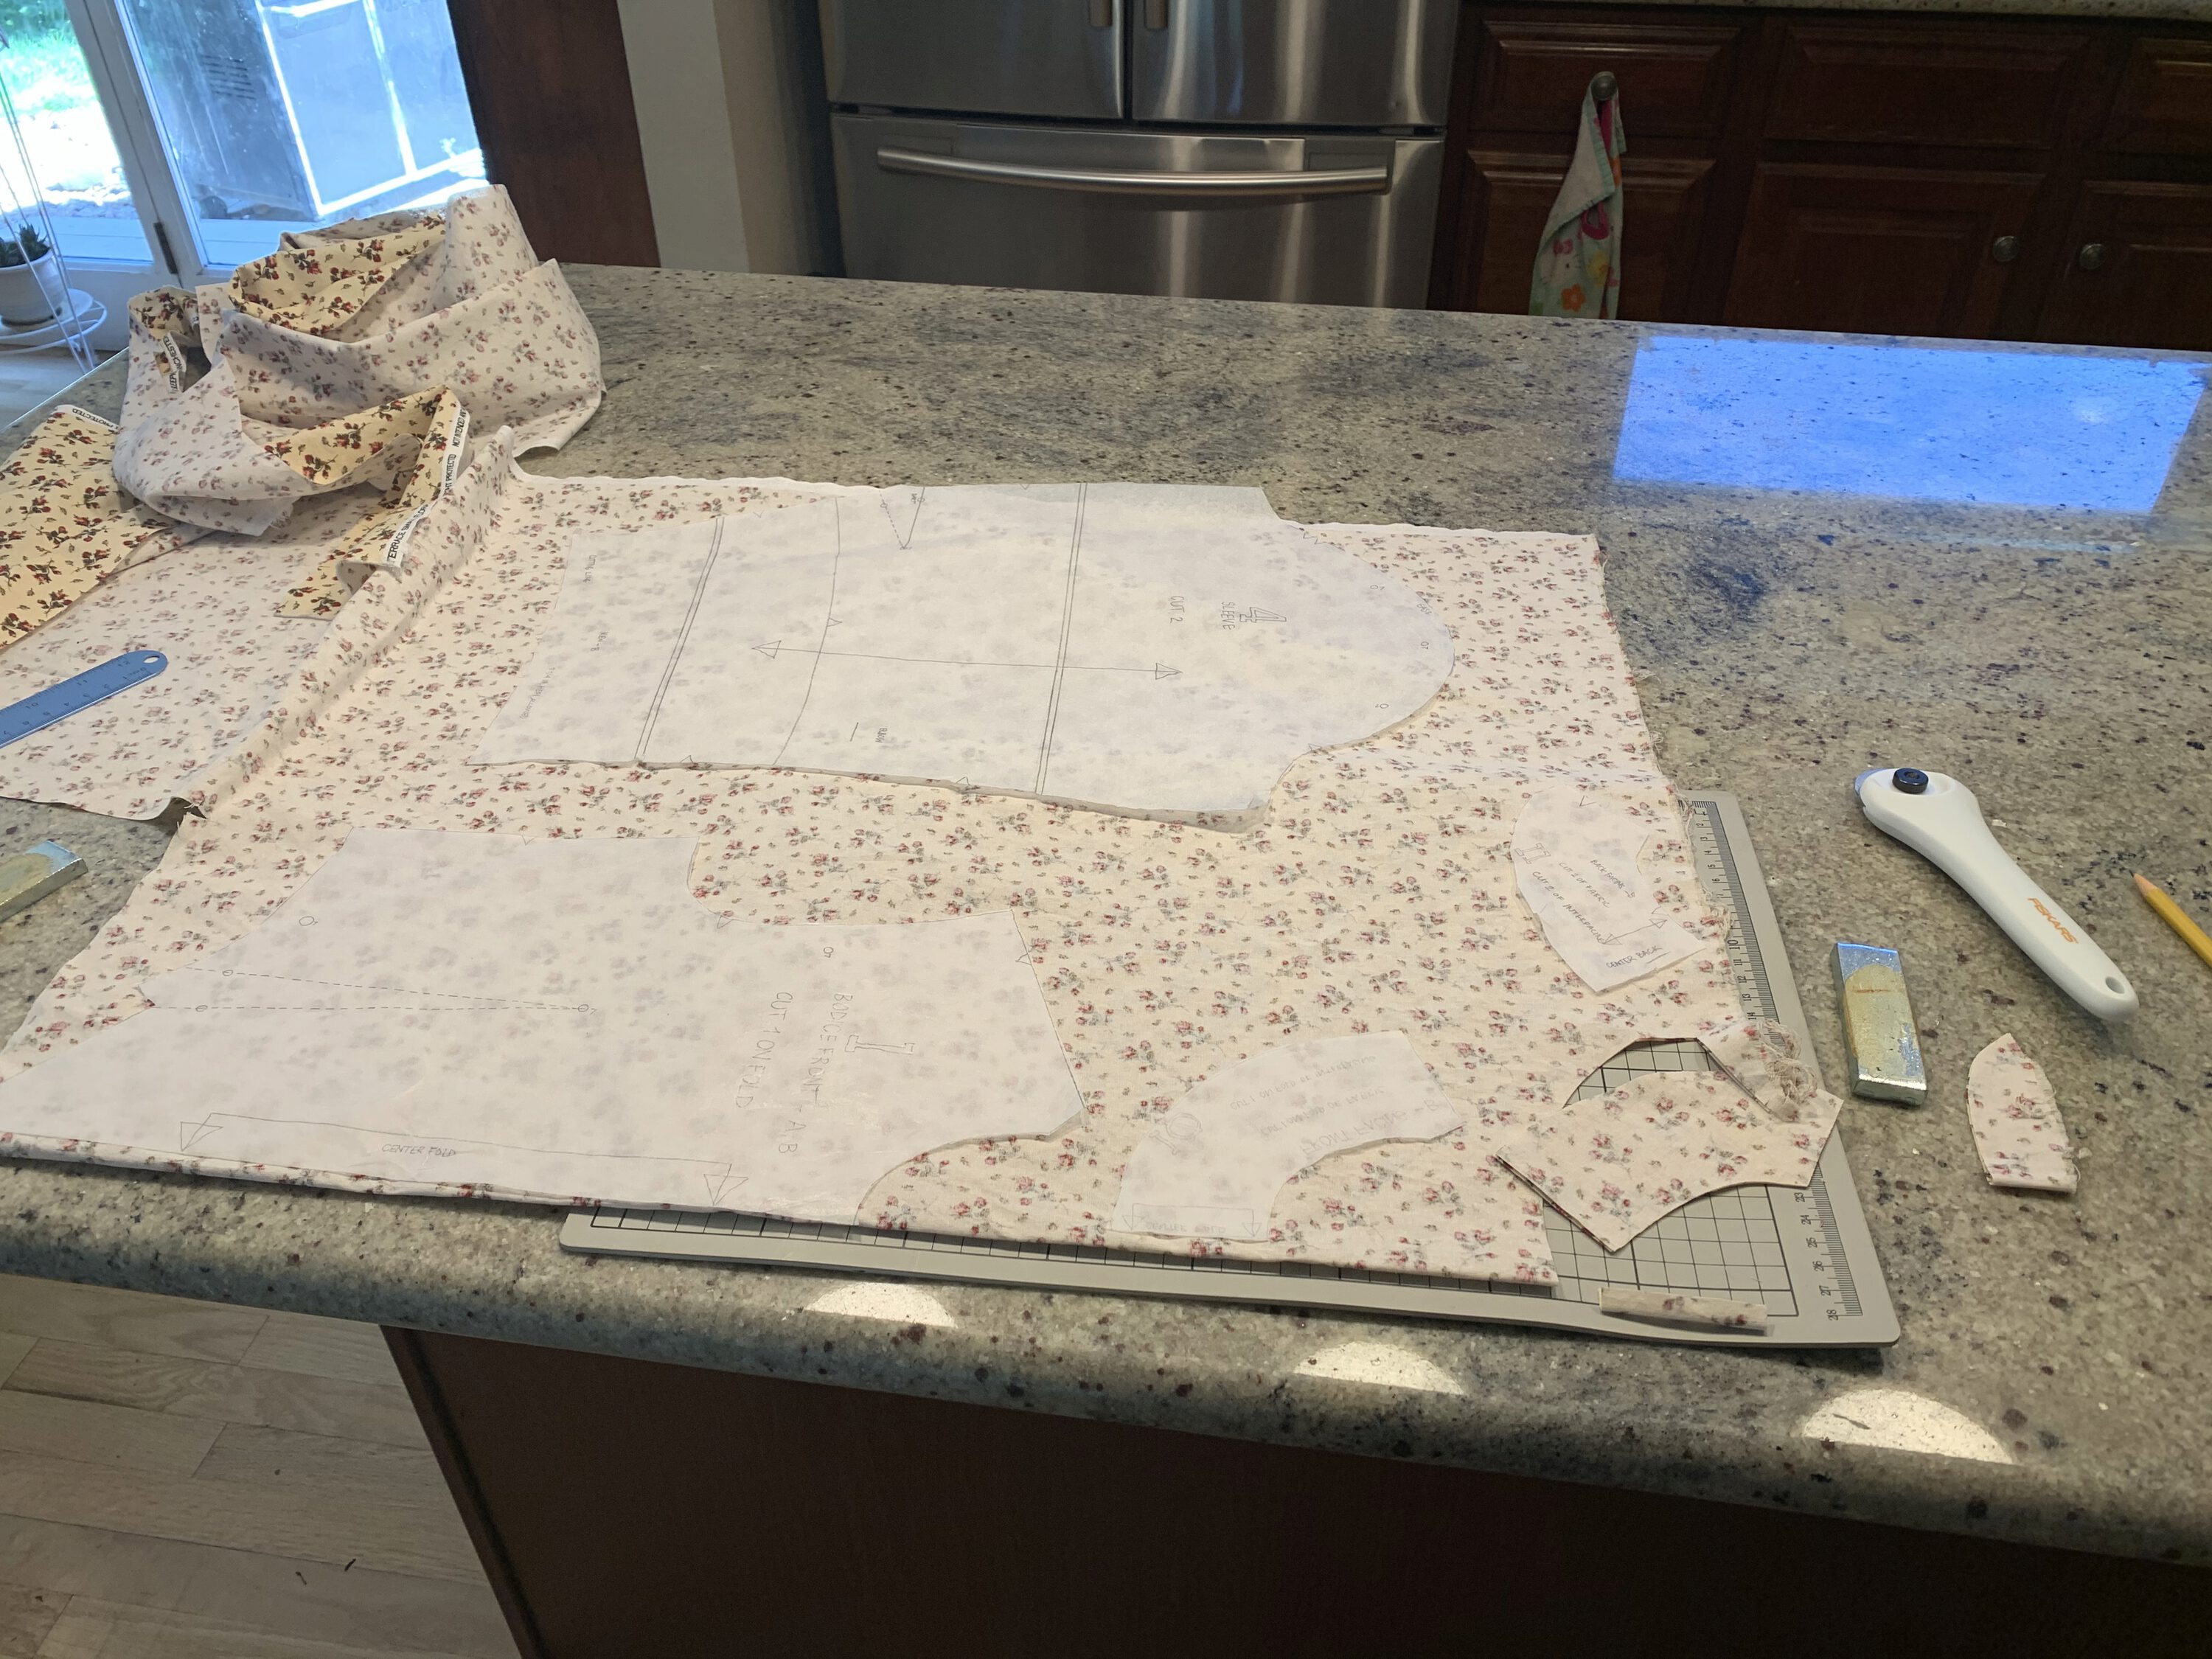
My wife and daughter started out the project together by measuring and choosing a size, and copying the templates onto some tracing paper. At some point I took over the project, and tried to keep my daughter involved as much as possible. Hopefully for her next dress she’ll be able to do a lot more on her own.
I was pretty nervous about sewing the curves for the shoulders, and was intimidated by gathering and attaching the skirt to the bodice. I did some research on YouTube, was careful, and it went surprisingly well. I did have a wrinkle I didn’t like in one of the shoulder curves, but I pulled out some stitches and got it fixed without too much trouble.

A sleeve ready to sew. I like using these clips where possible. 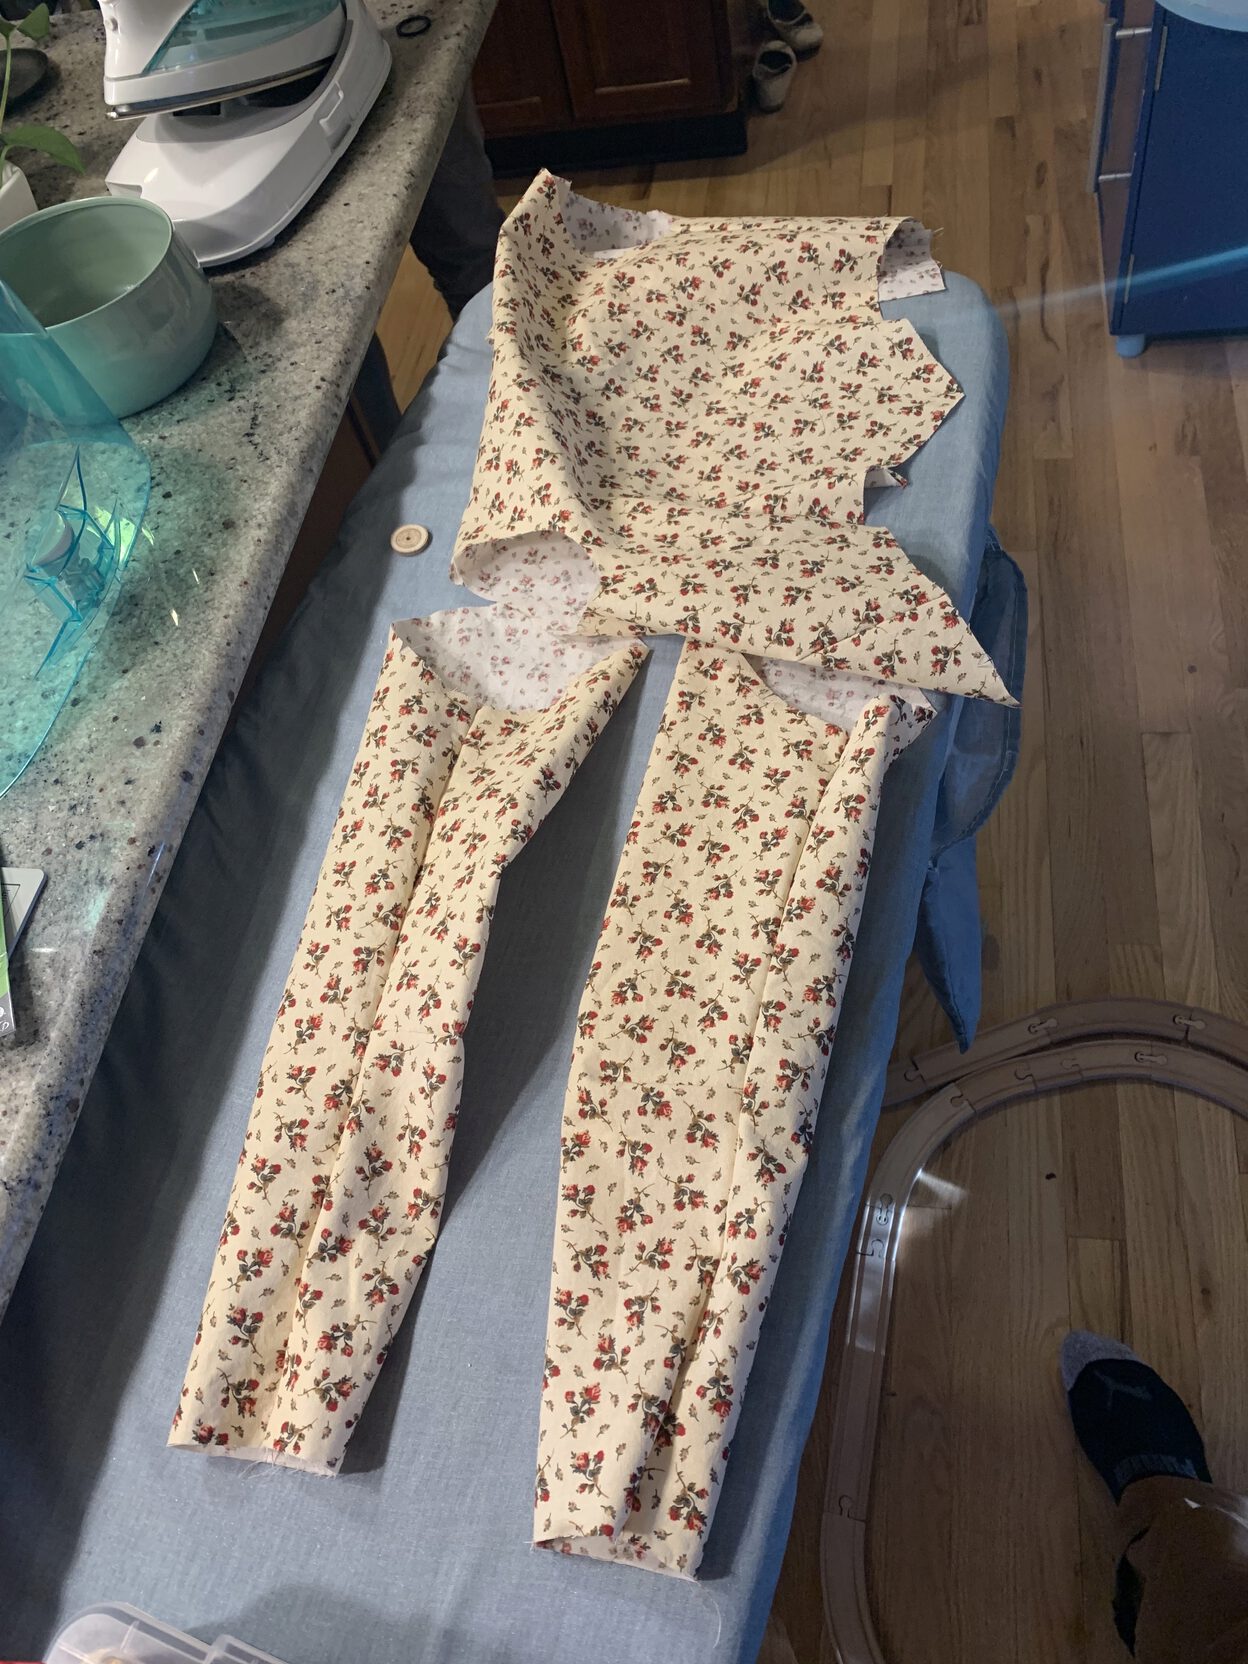
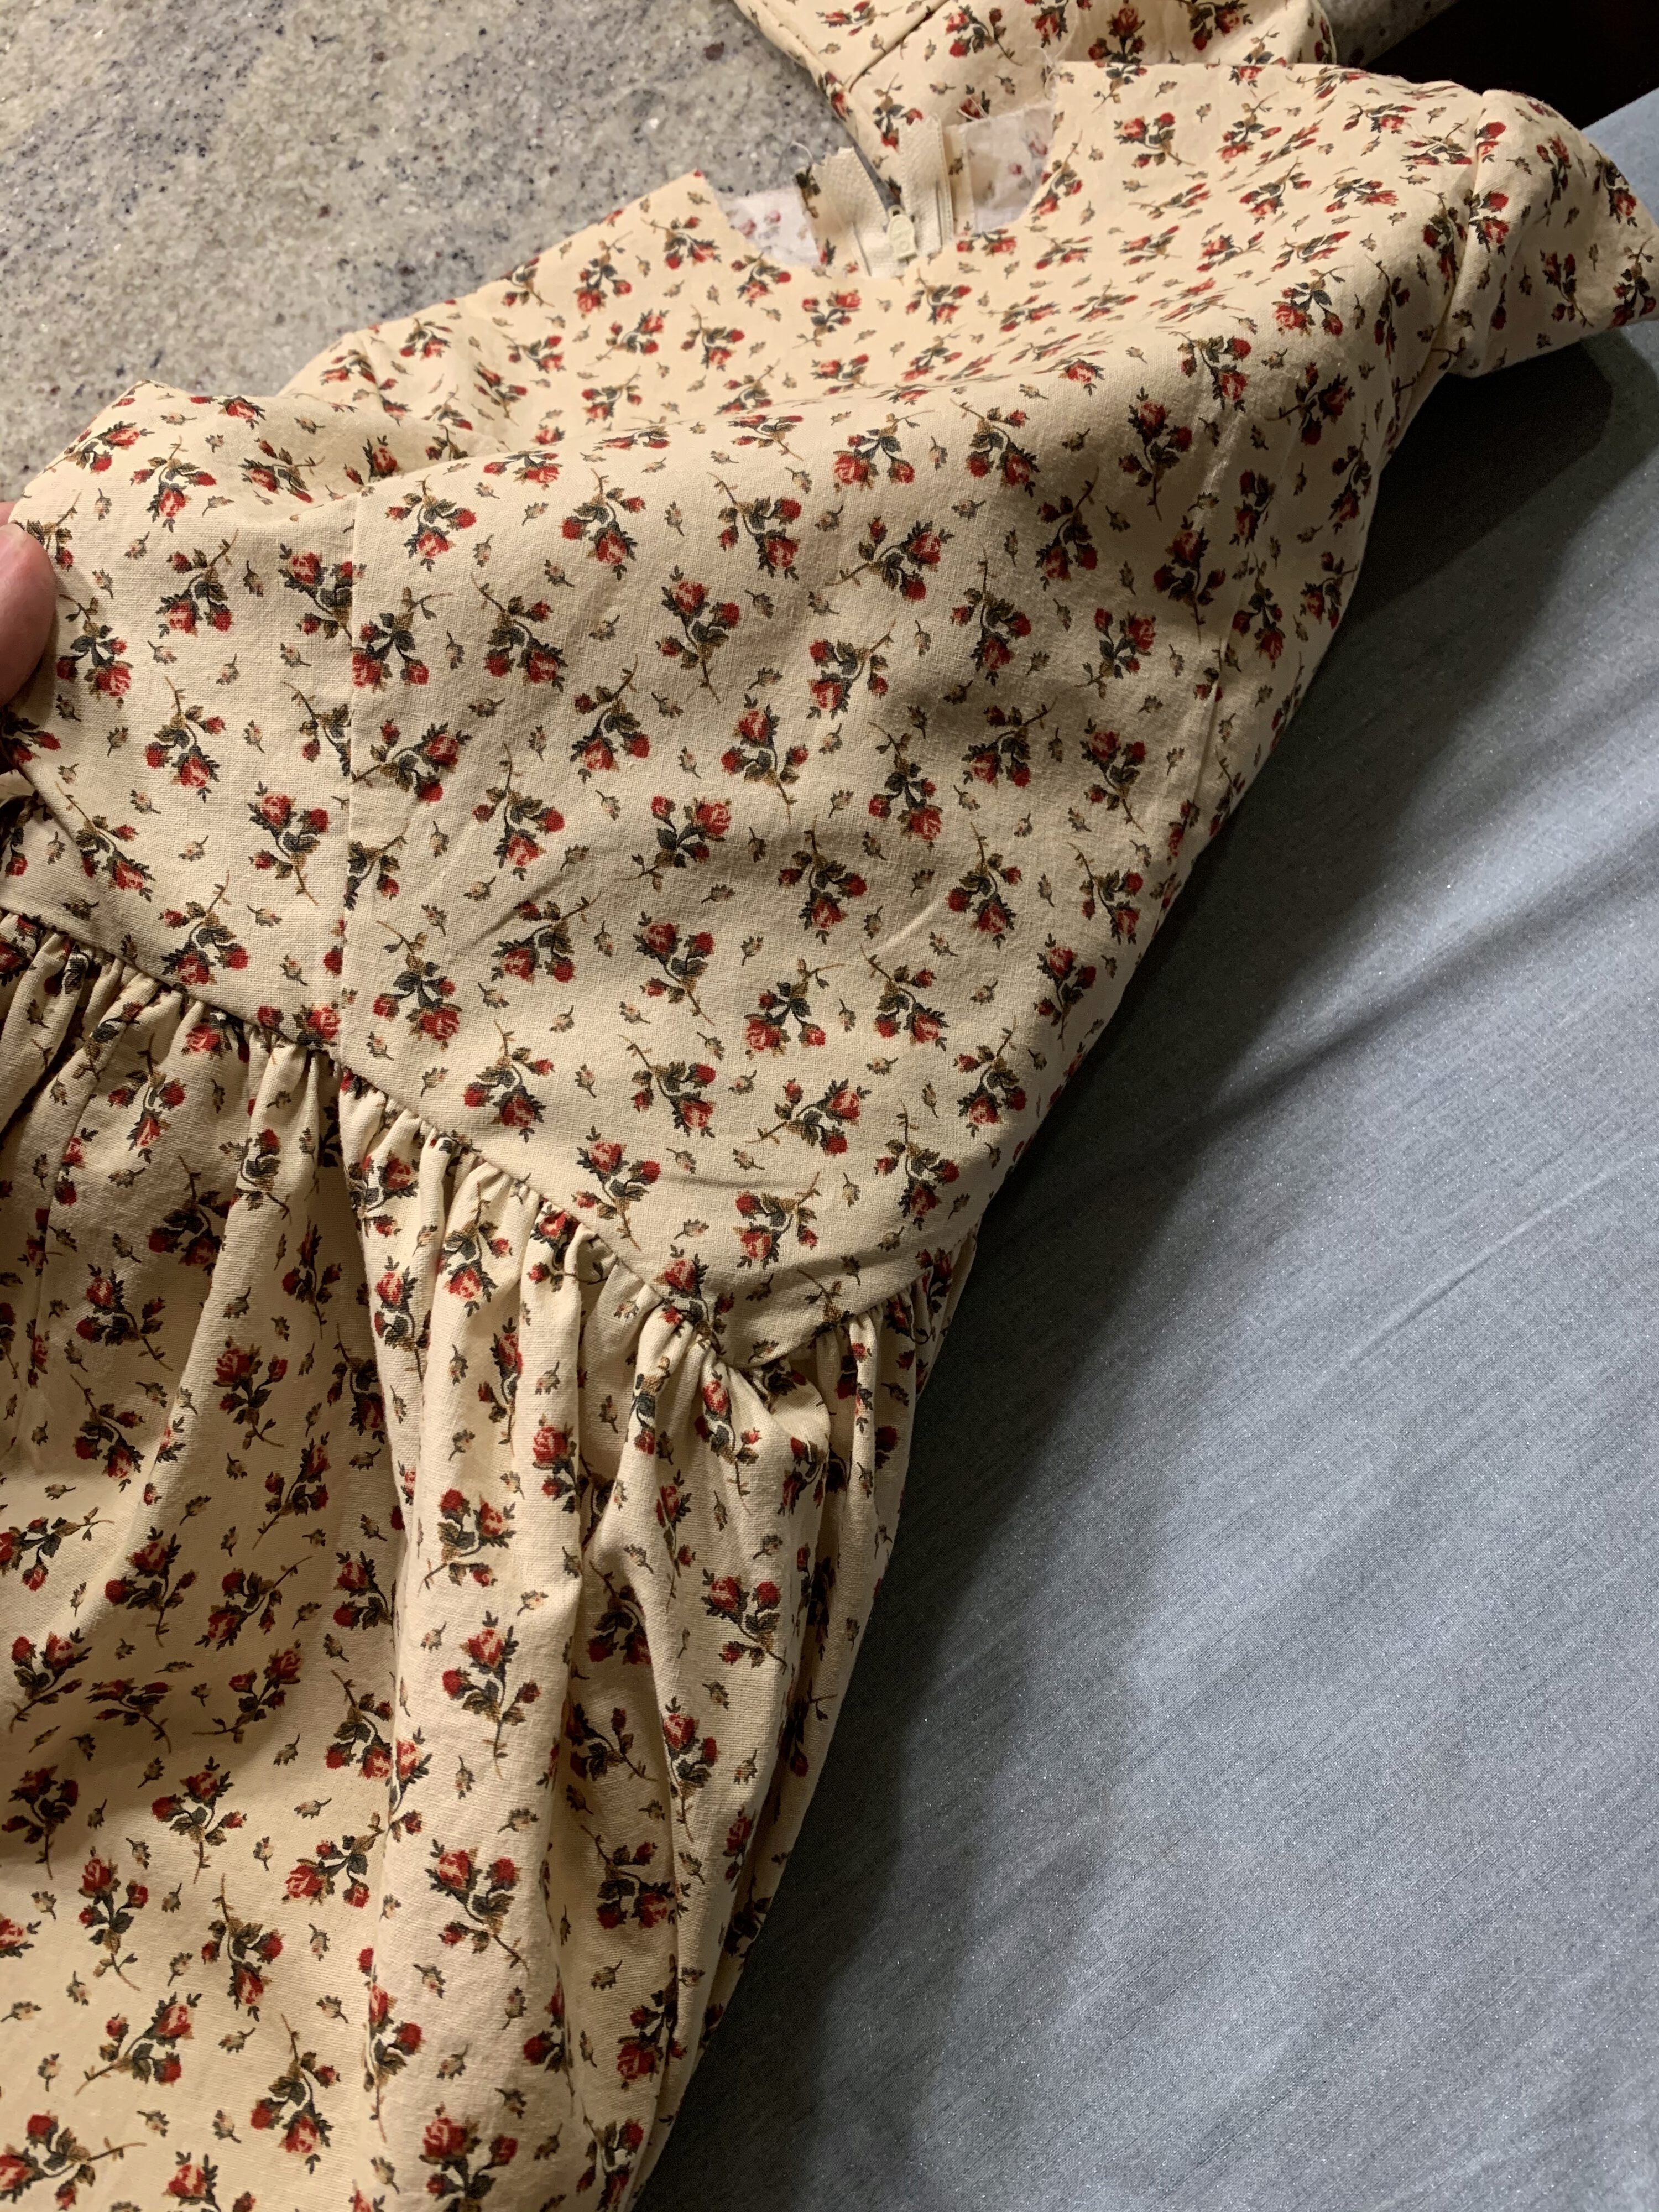
Sleeves and bodice ready to be lined up and attached. 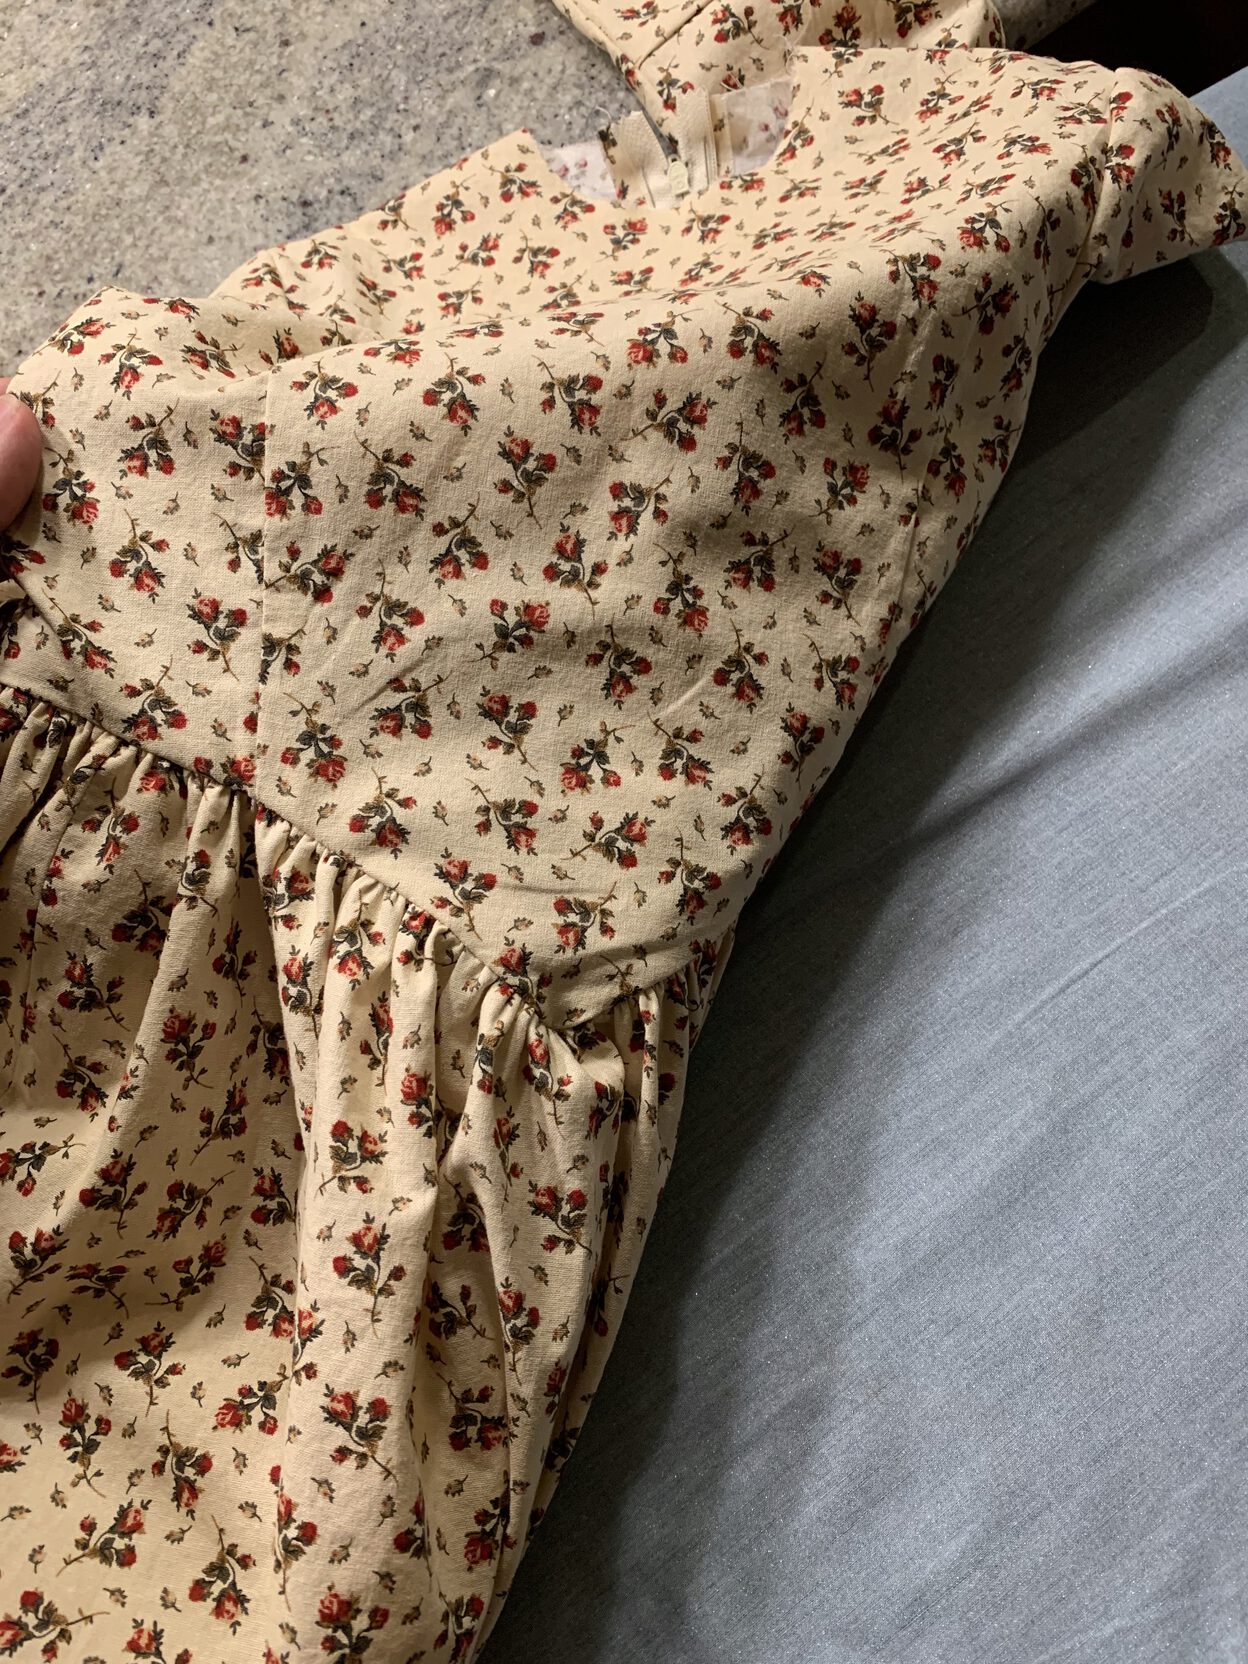
The bodice attached to the gathered skirt.


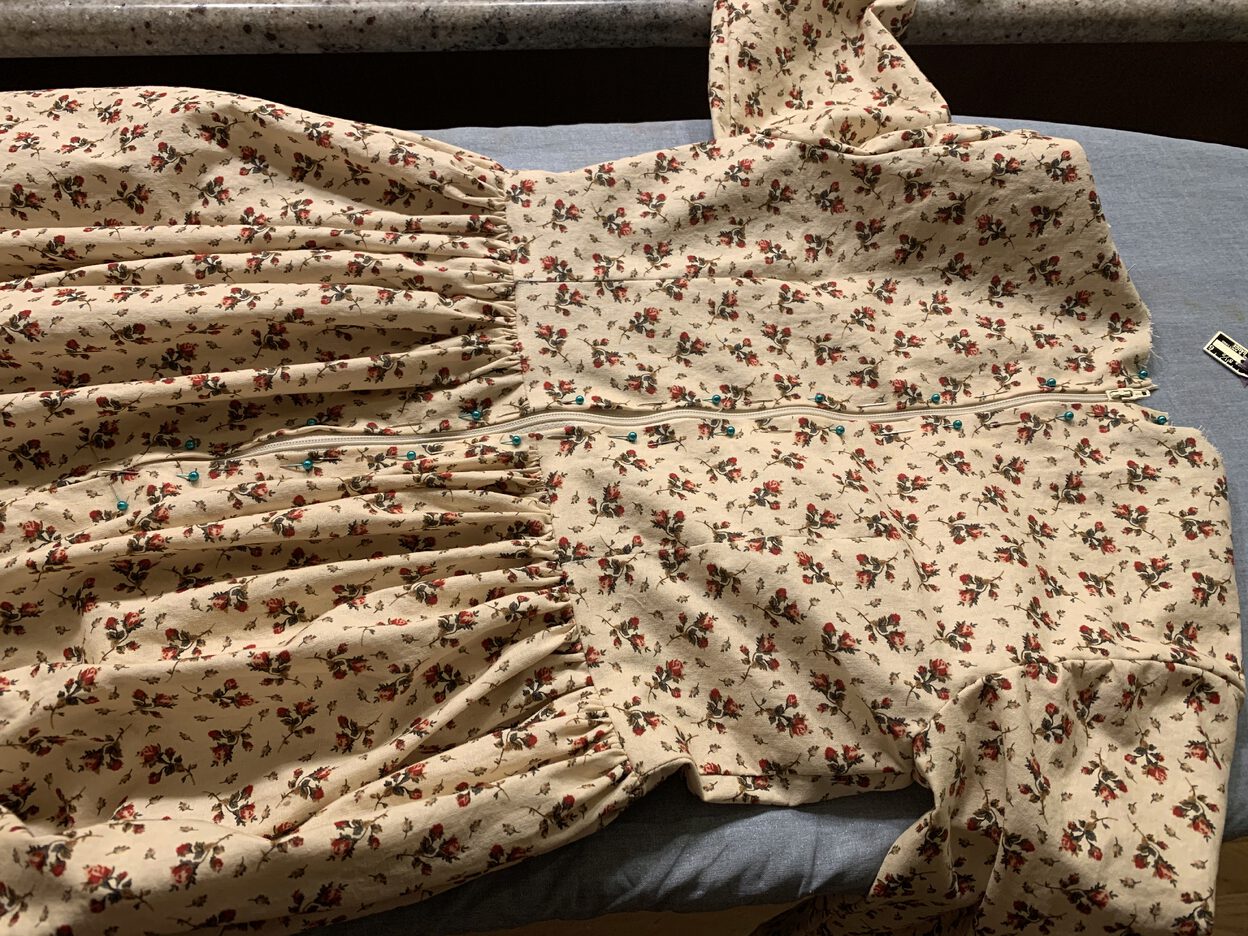
Pinning the zipper. 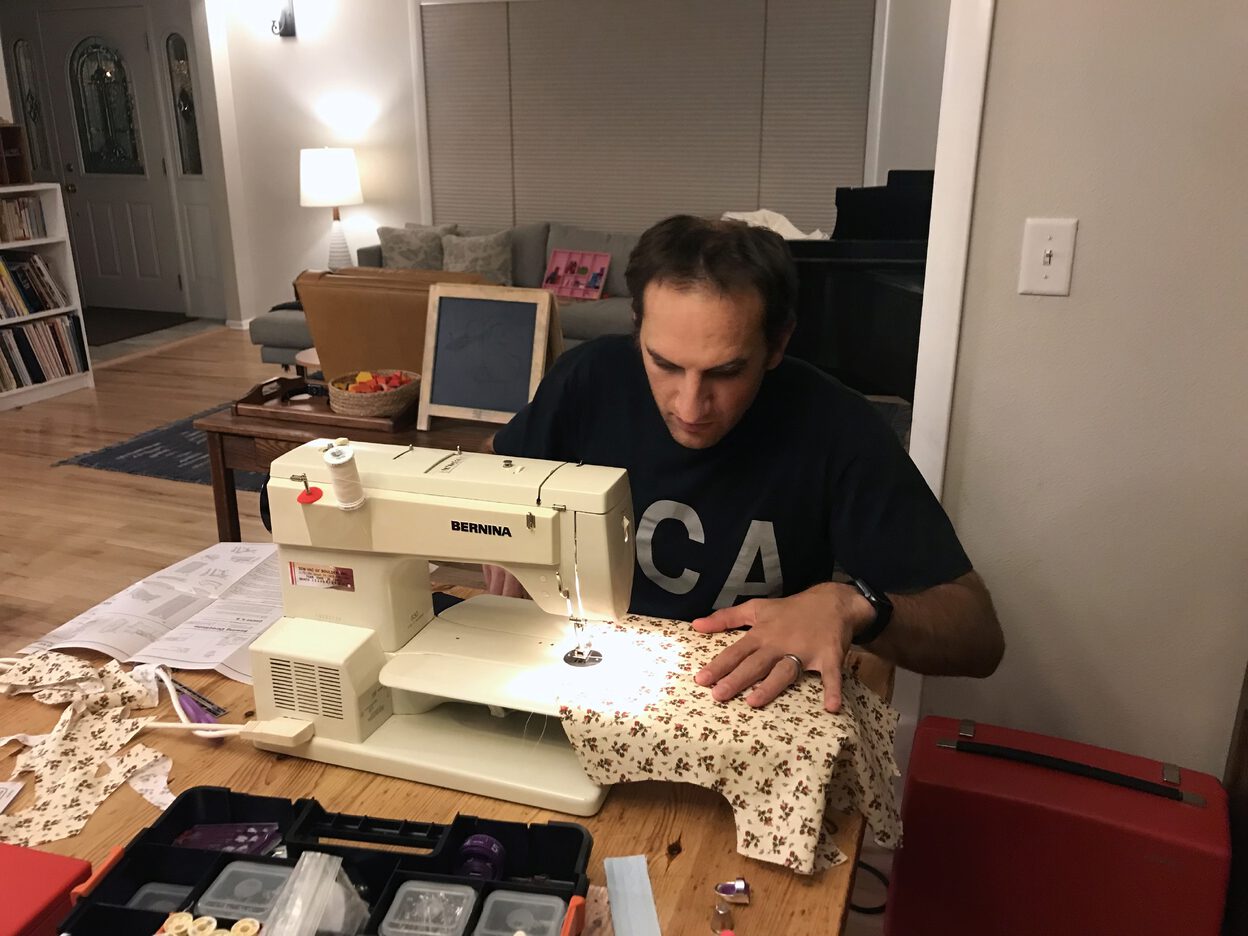

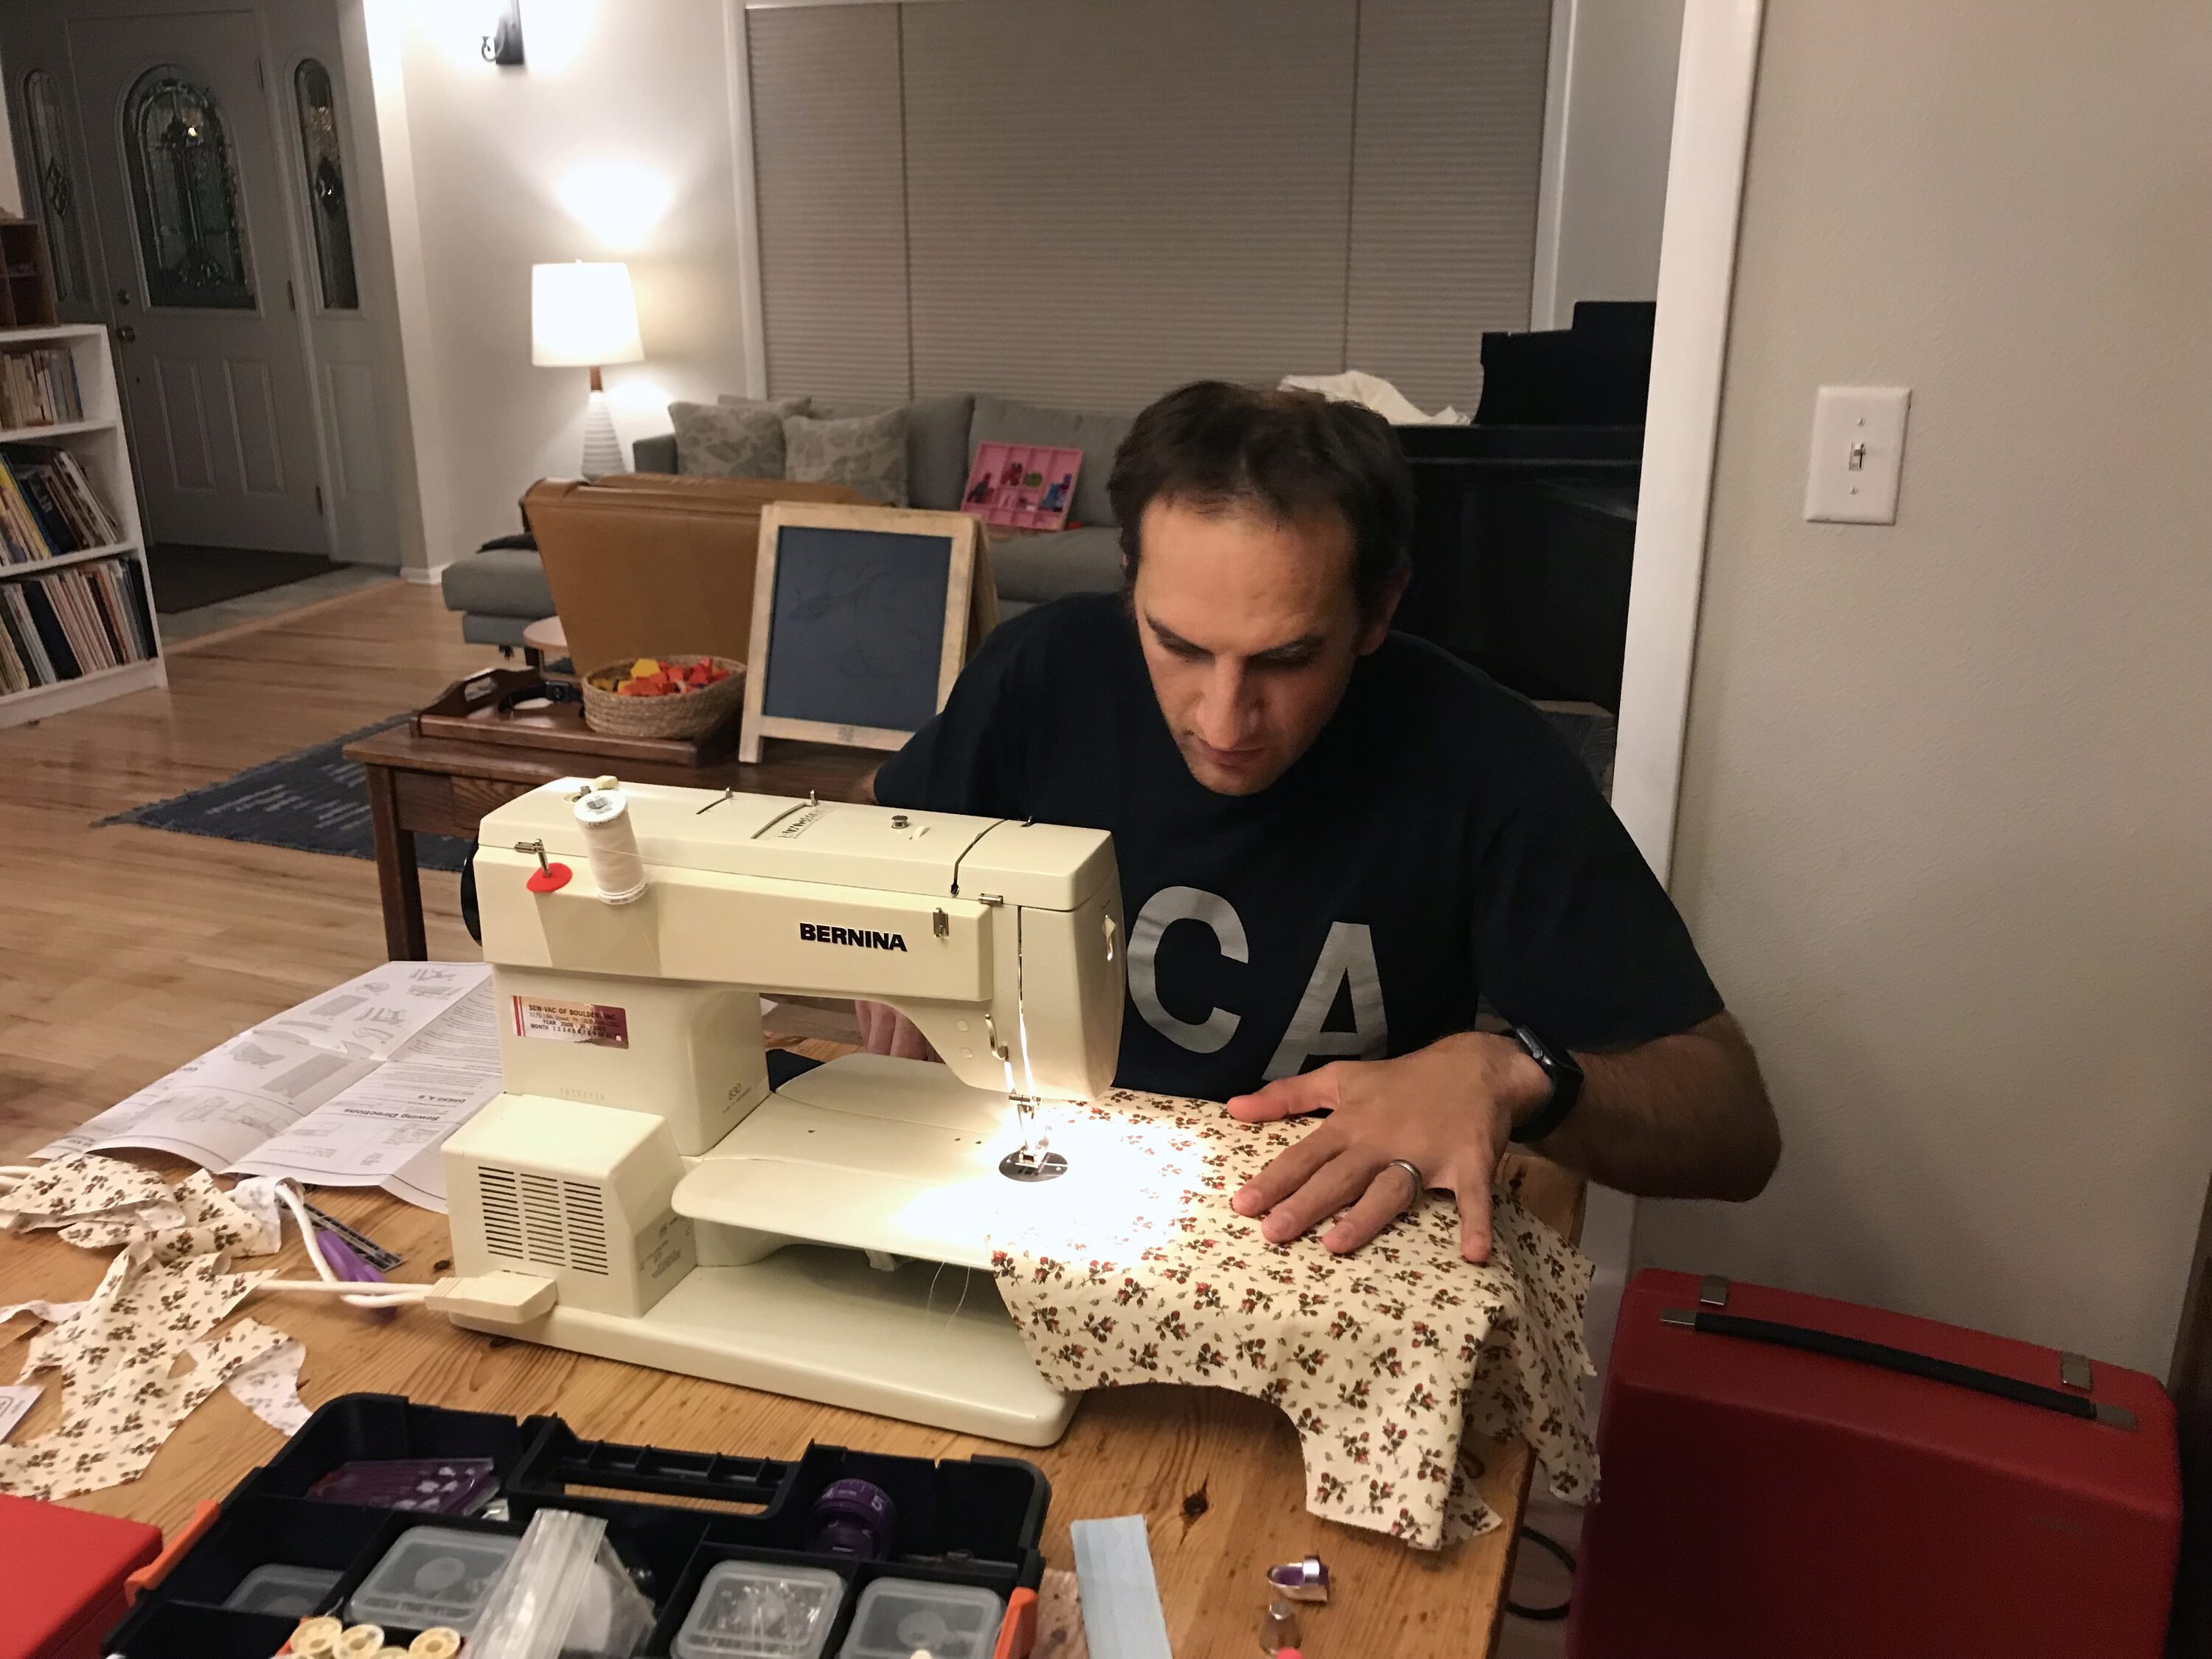

This was the first time I’ve followed a pattern or done any garment sewing so far, so it was an interesting experience. I got to learn sewing techniques I’d never used before, and it really encouraged me to try some more challenging projects in the future.
On Sewing
Something I find interesting about machine sewing is the relaxed confidence that is required to do clean work. You can’t force the material into the machine; you have to let the fabric flow, and let the machine do its work. At the same time, a vigilant eye is required to make sure things are staying on track. The smallest lapse in attention can be disastrous. The sewing machine is like an animal that senses your insecurities and will pounce the moment you show any sign of weakness. Conversely, get too confident, and you will be humbled.
The Pattern
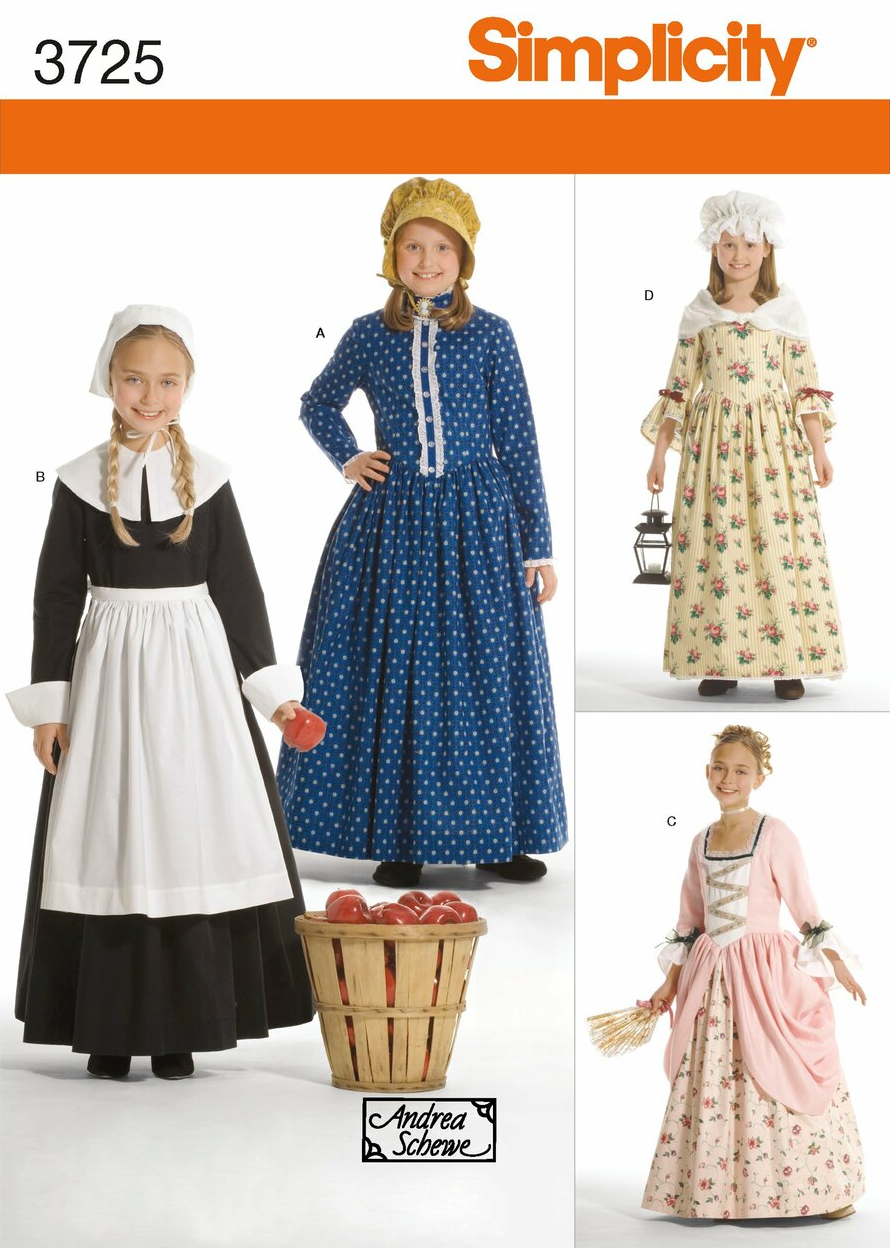
We used “View B” from the Simplicity 3725 pattern.
The pattern seemed to be decently instructive, but I found it to be imprecise and missing some details. Thankfully YouTube is such an incredible resource for learning new skills and how to accomplish specific things, so I was able to find out what I needed.
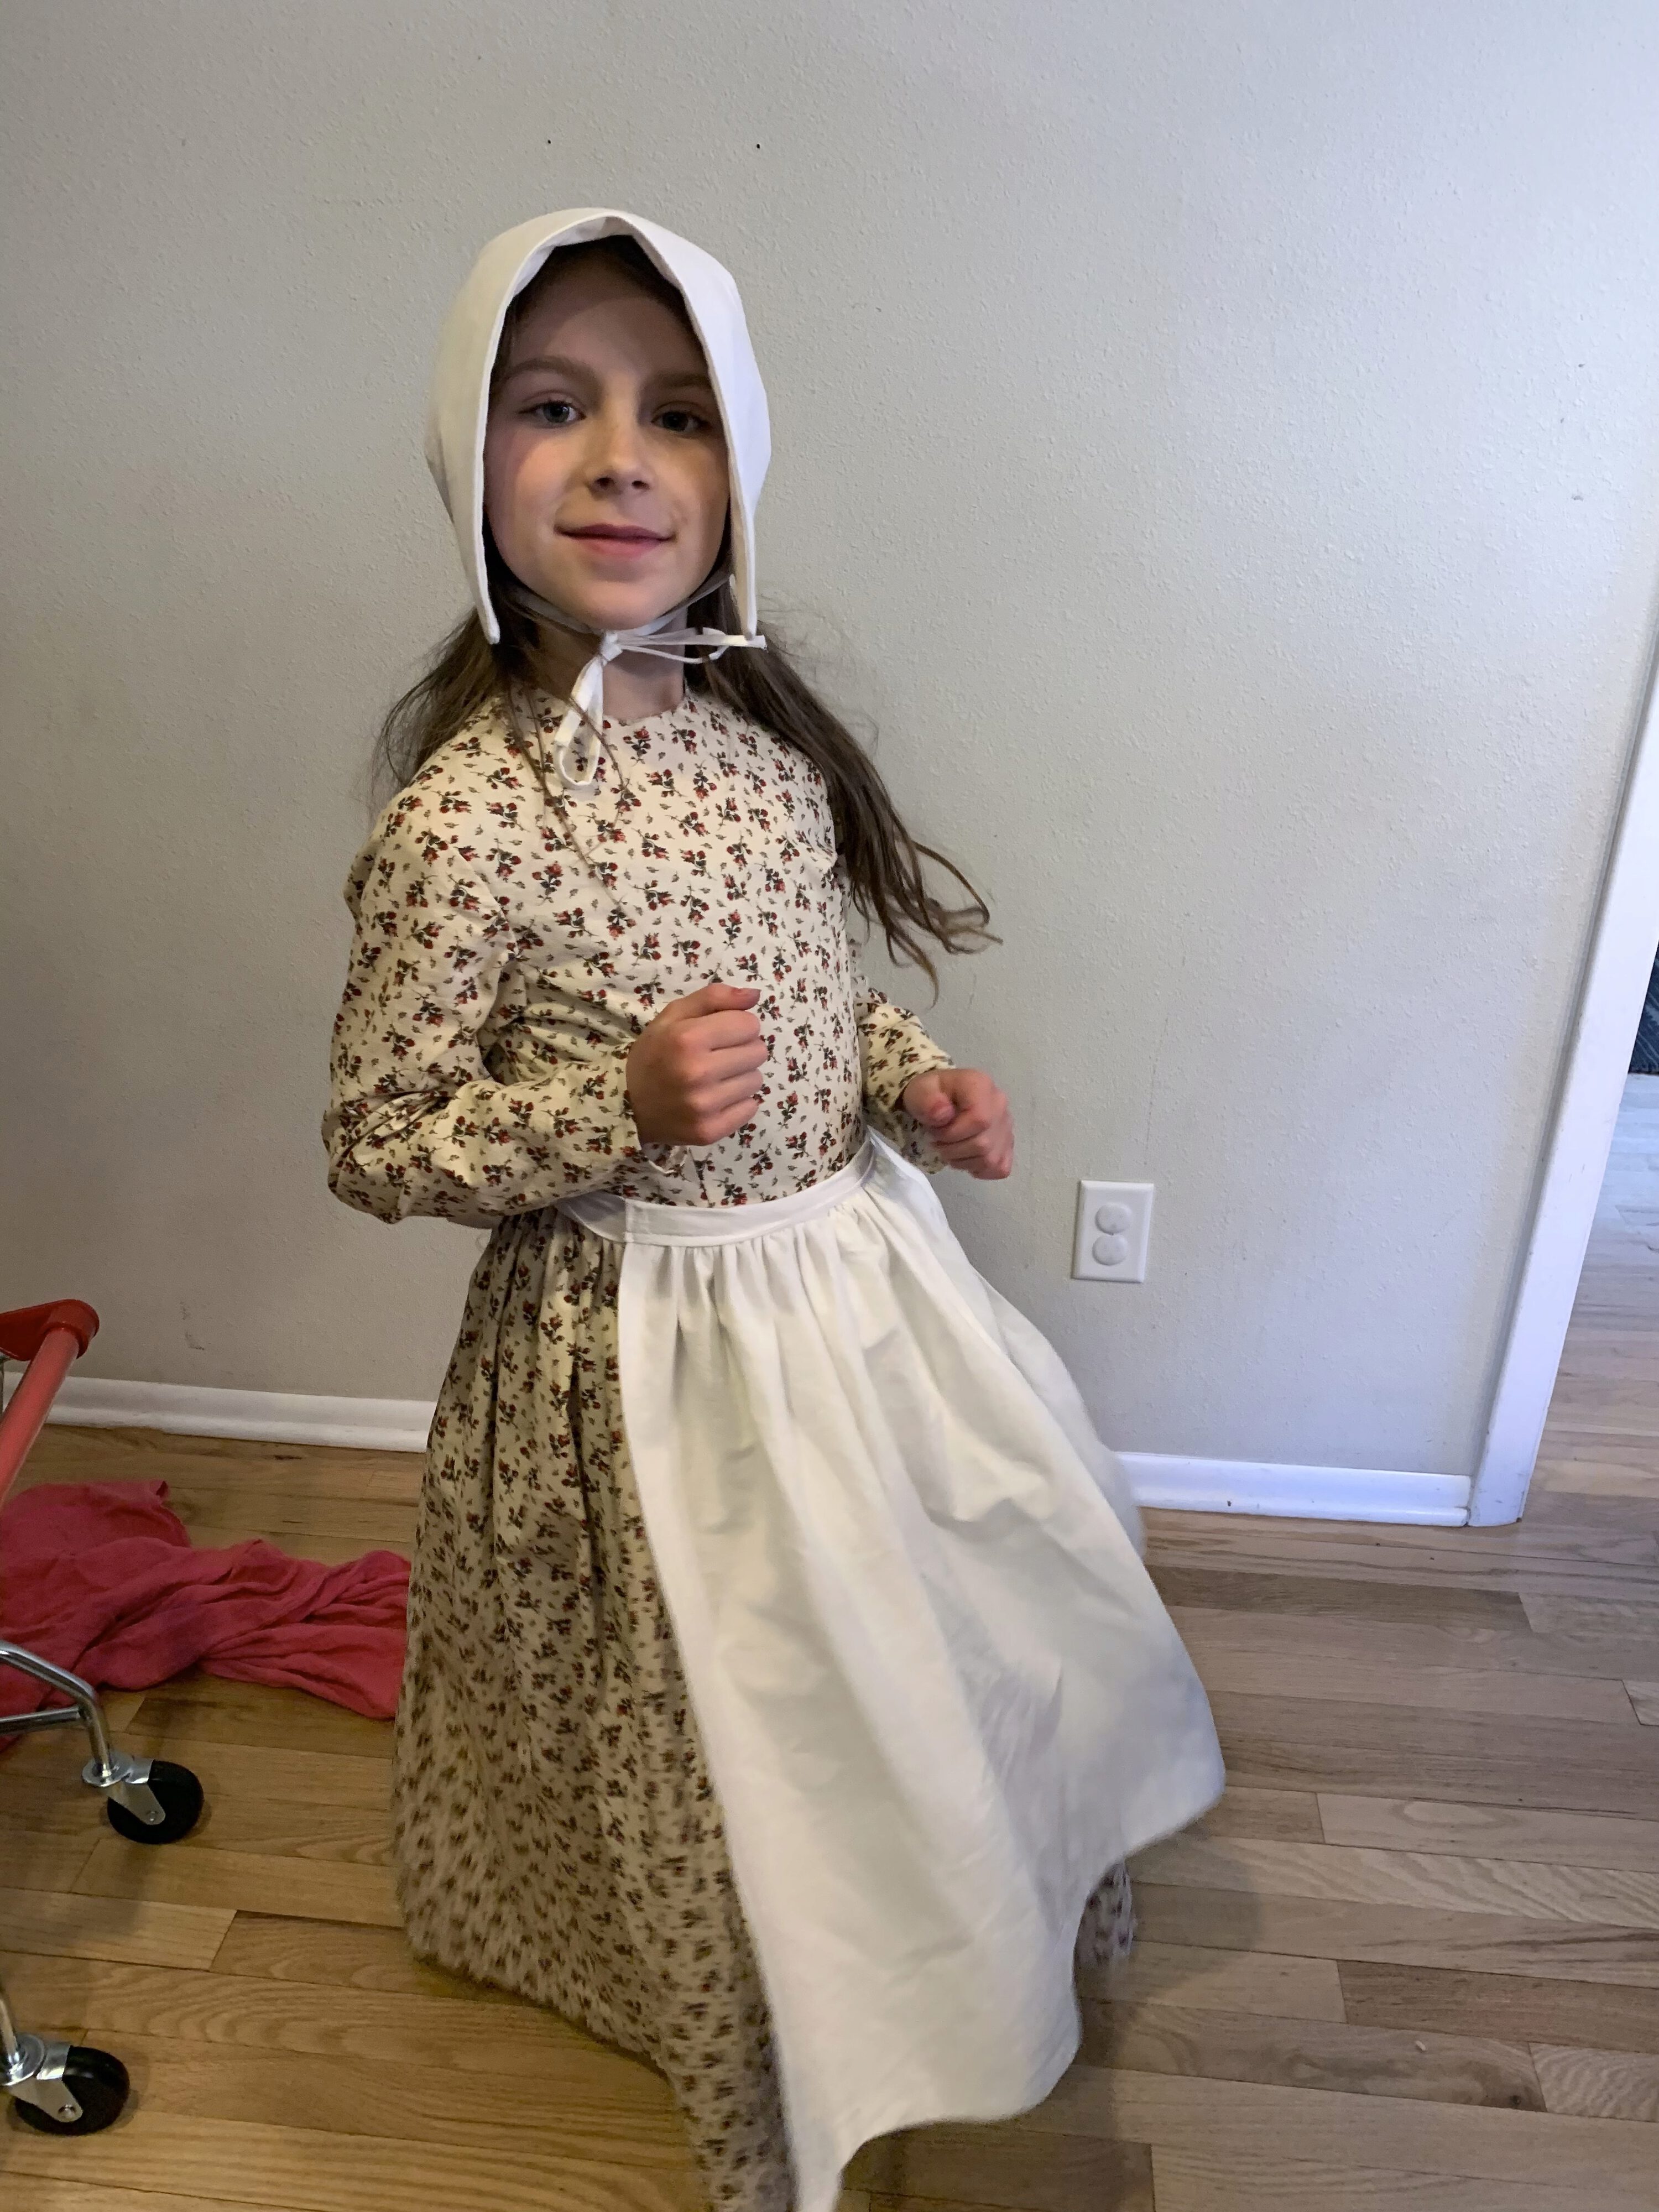
The pattern included an apron, bonnet, collar, and cuffs. The bonnet, collar, and cuffs include a couple layers of fusible interfacing to provide some stiffness. I sewed the cuffs, but did not end up attaching them. She loves wearing the apron and bonnet. The collar is meant to sit on top of the dress, but my daughter doesn’t wear that much.
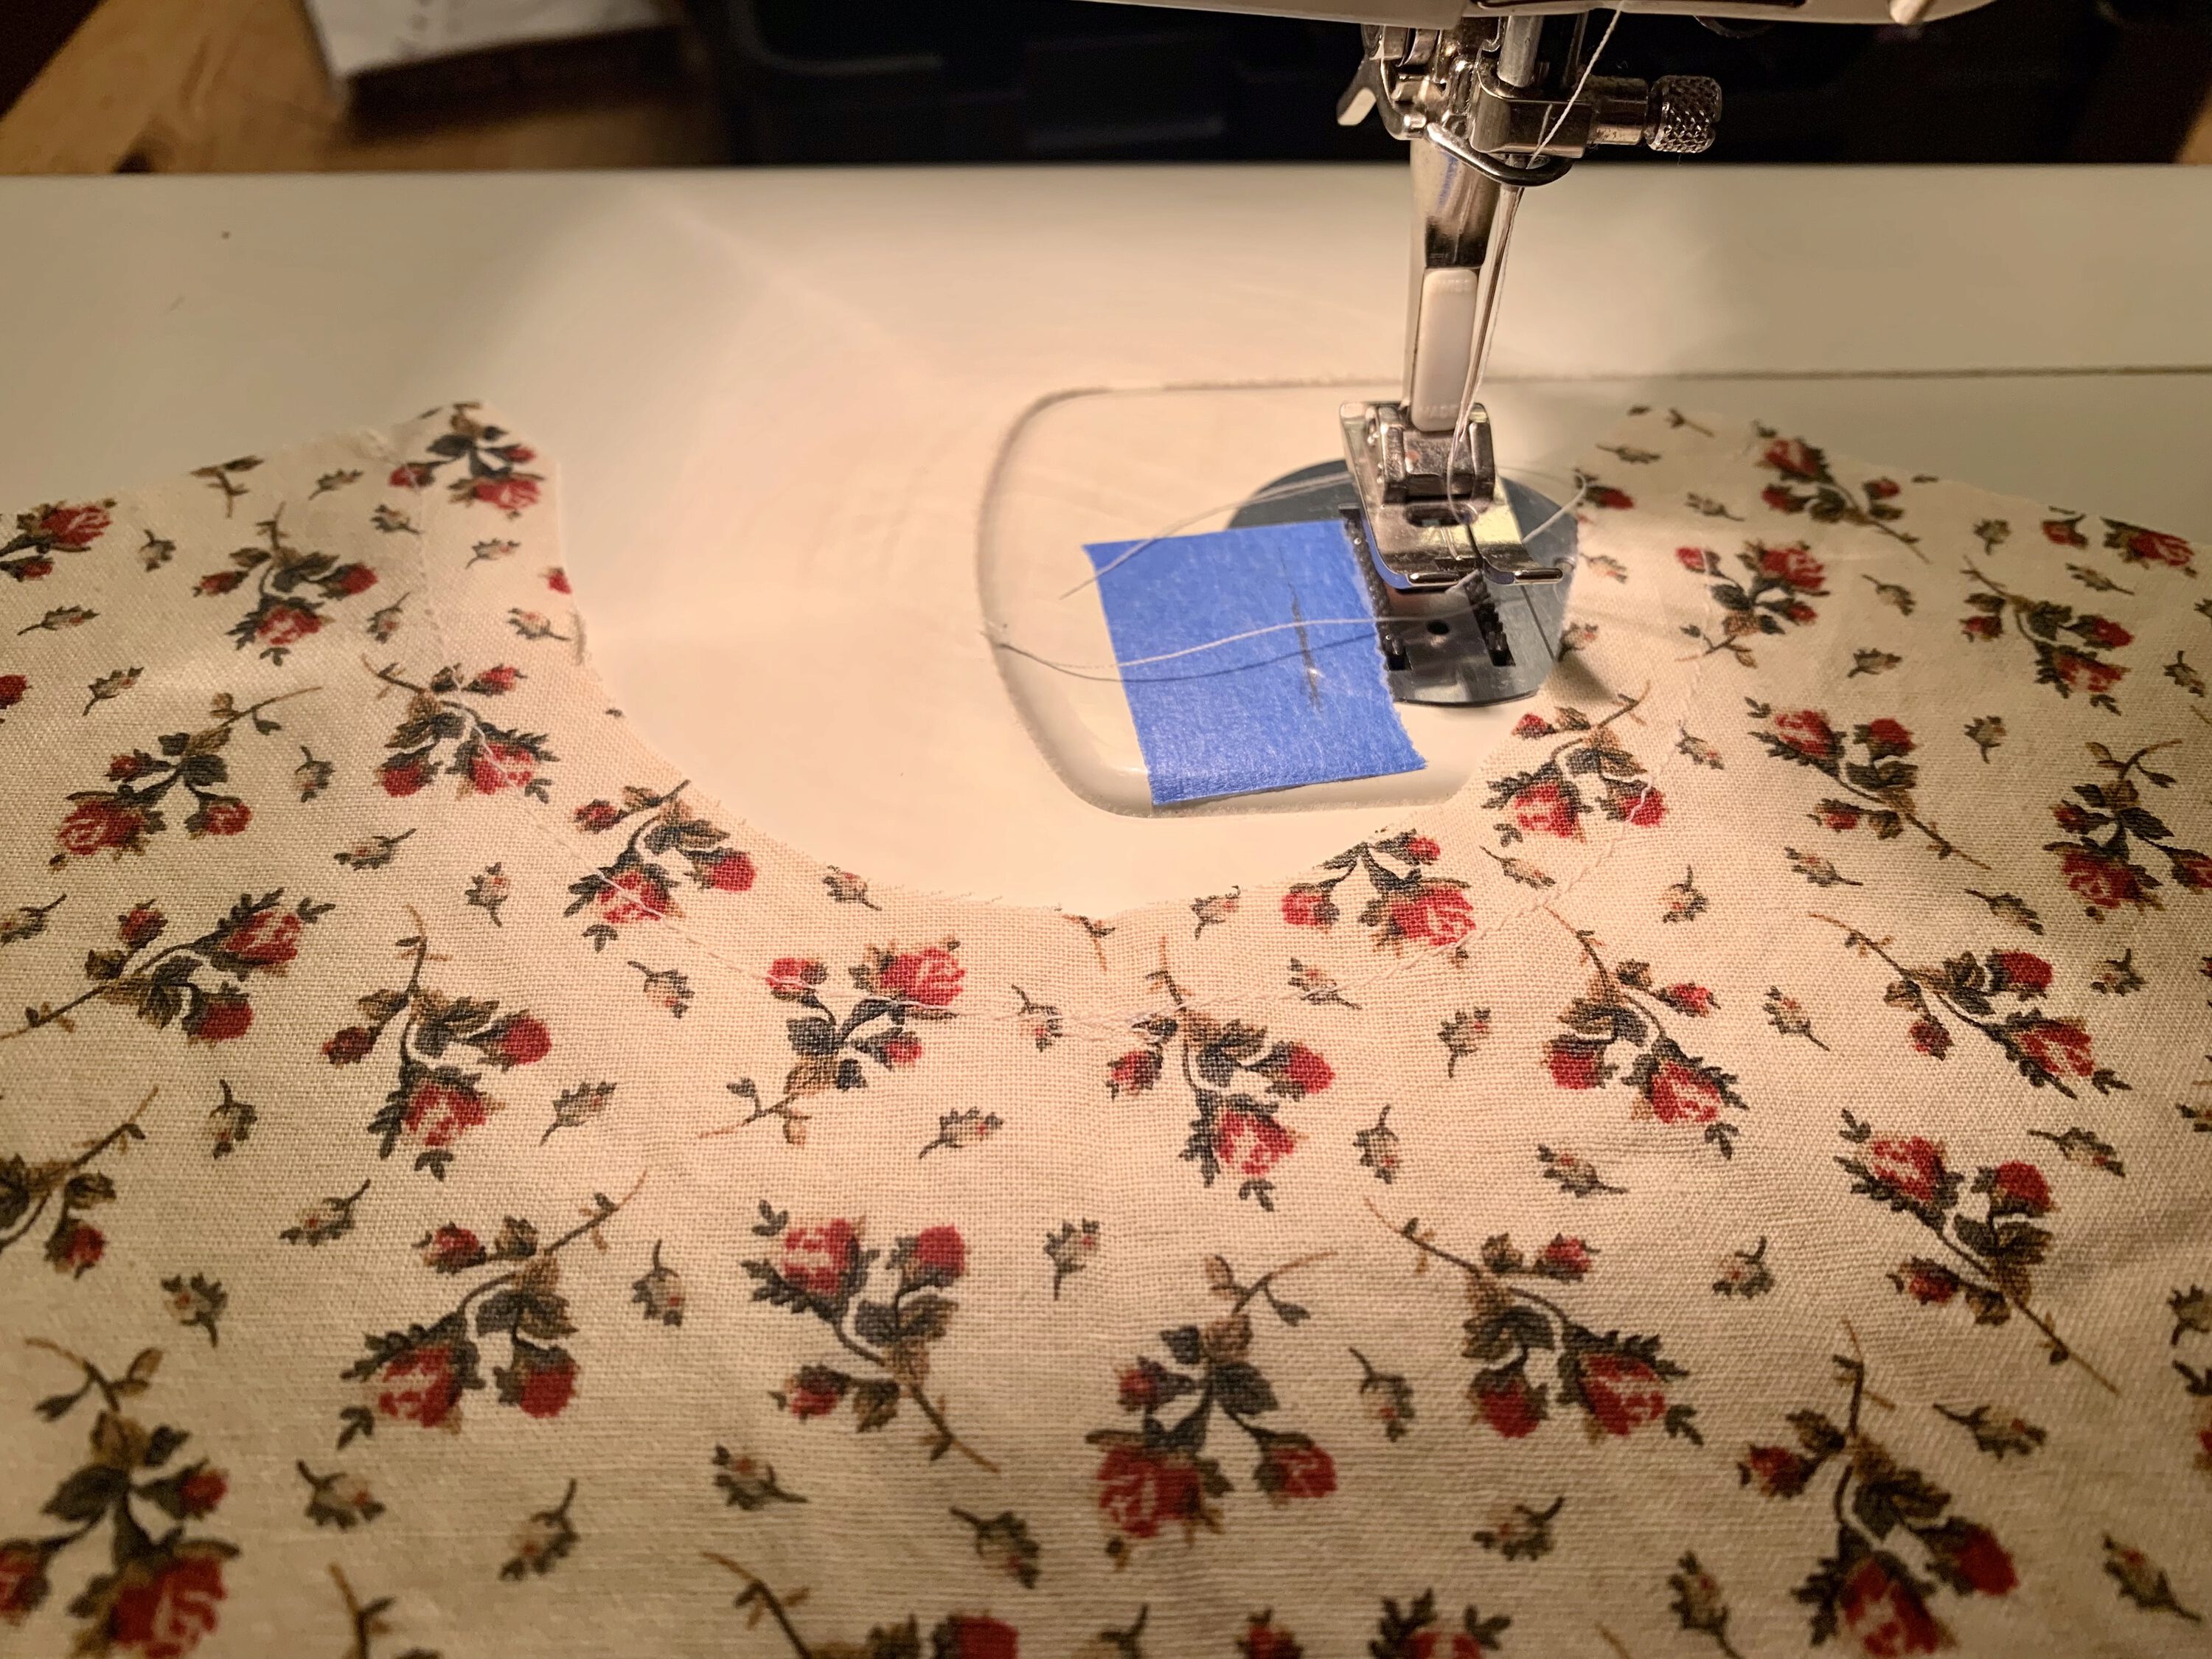
One thing I wish I had done differently is to add a hem to the neck line. The pattern called for a stay stitch around the neck, and that’s meant to be covered by the collar overlaid around the neck. But even if it were always covered, it still frays and looks bad.
It was a lot of work, but I’m really happy with the results. My daughter has enjoyed the dress so thoroughly that it was absolutely worth the effort.
-
Rest assured, we try to give our children a diverse education with a holistic understanding of the history of that time. ↩